Guide: Configure SSO with Google
In order to use Google for SSO, you need to create client credentials that can be used to identify and authenticate your application during OAuth2 and OIDC flows. This guide will take you through the steps for creating those credentials.
For a full walkthrough on using SlashID for SSO, please check the dedicated guide.
Before You Start
To create the OAuth2 credentials you will need to use the Google Cloud Platform (GCP) Console. If you are new to GCP, you may want to check Google's documentation on getting started. Your organization may have GCP projects already set up that you should use for client credentials.
Creating OAuth2 Credentials
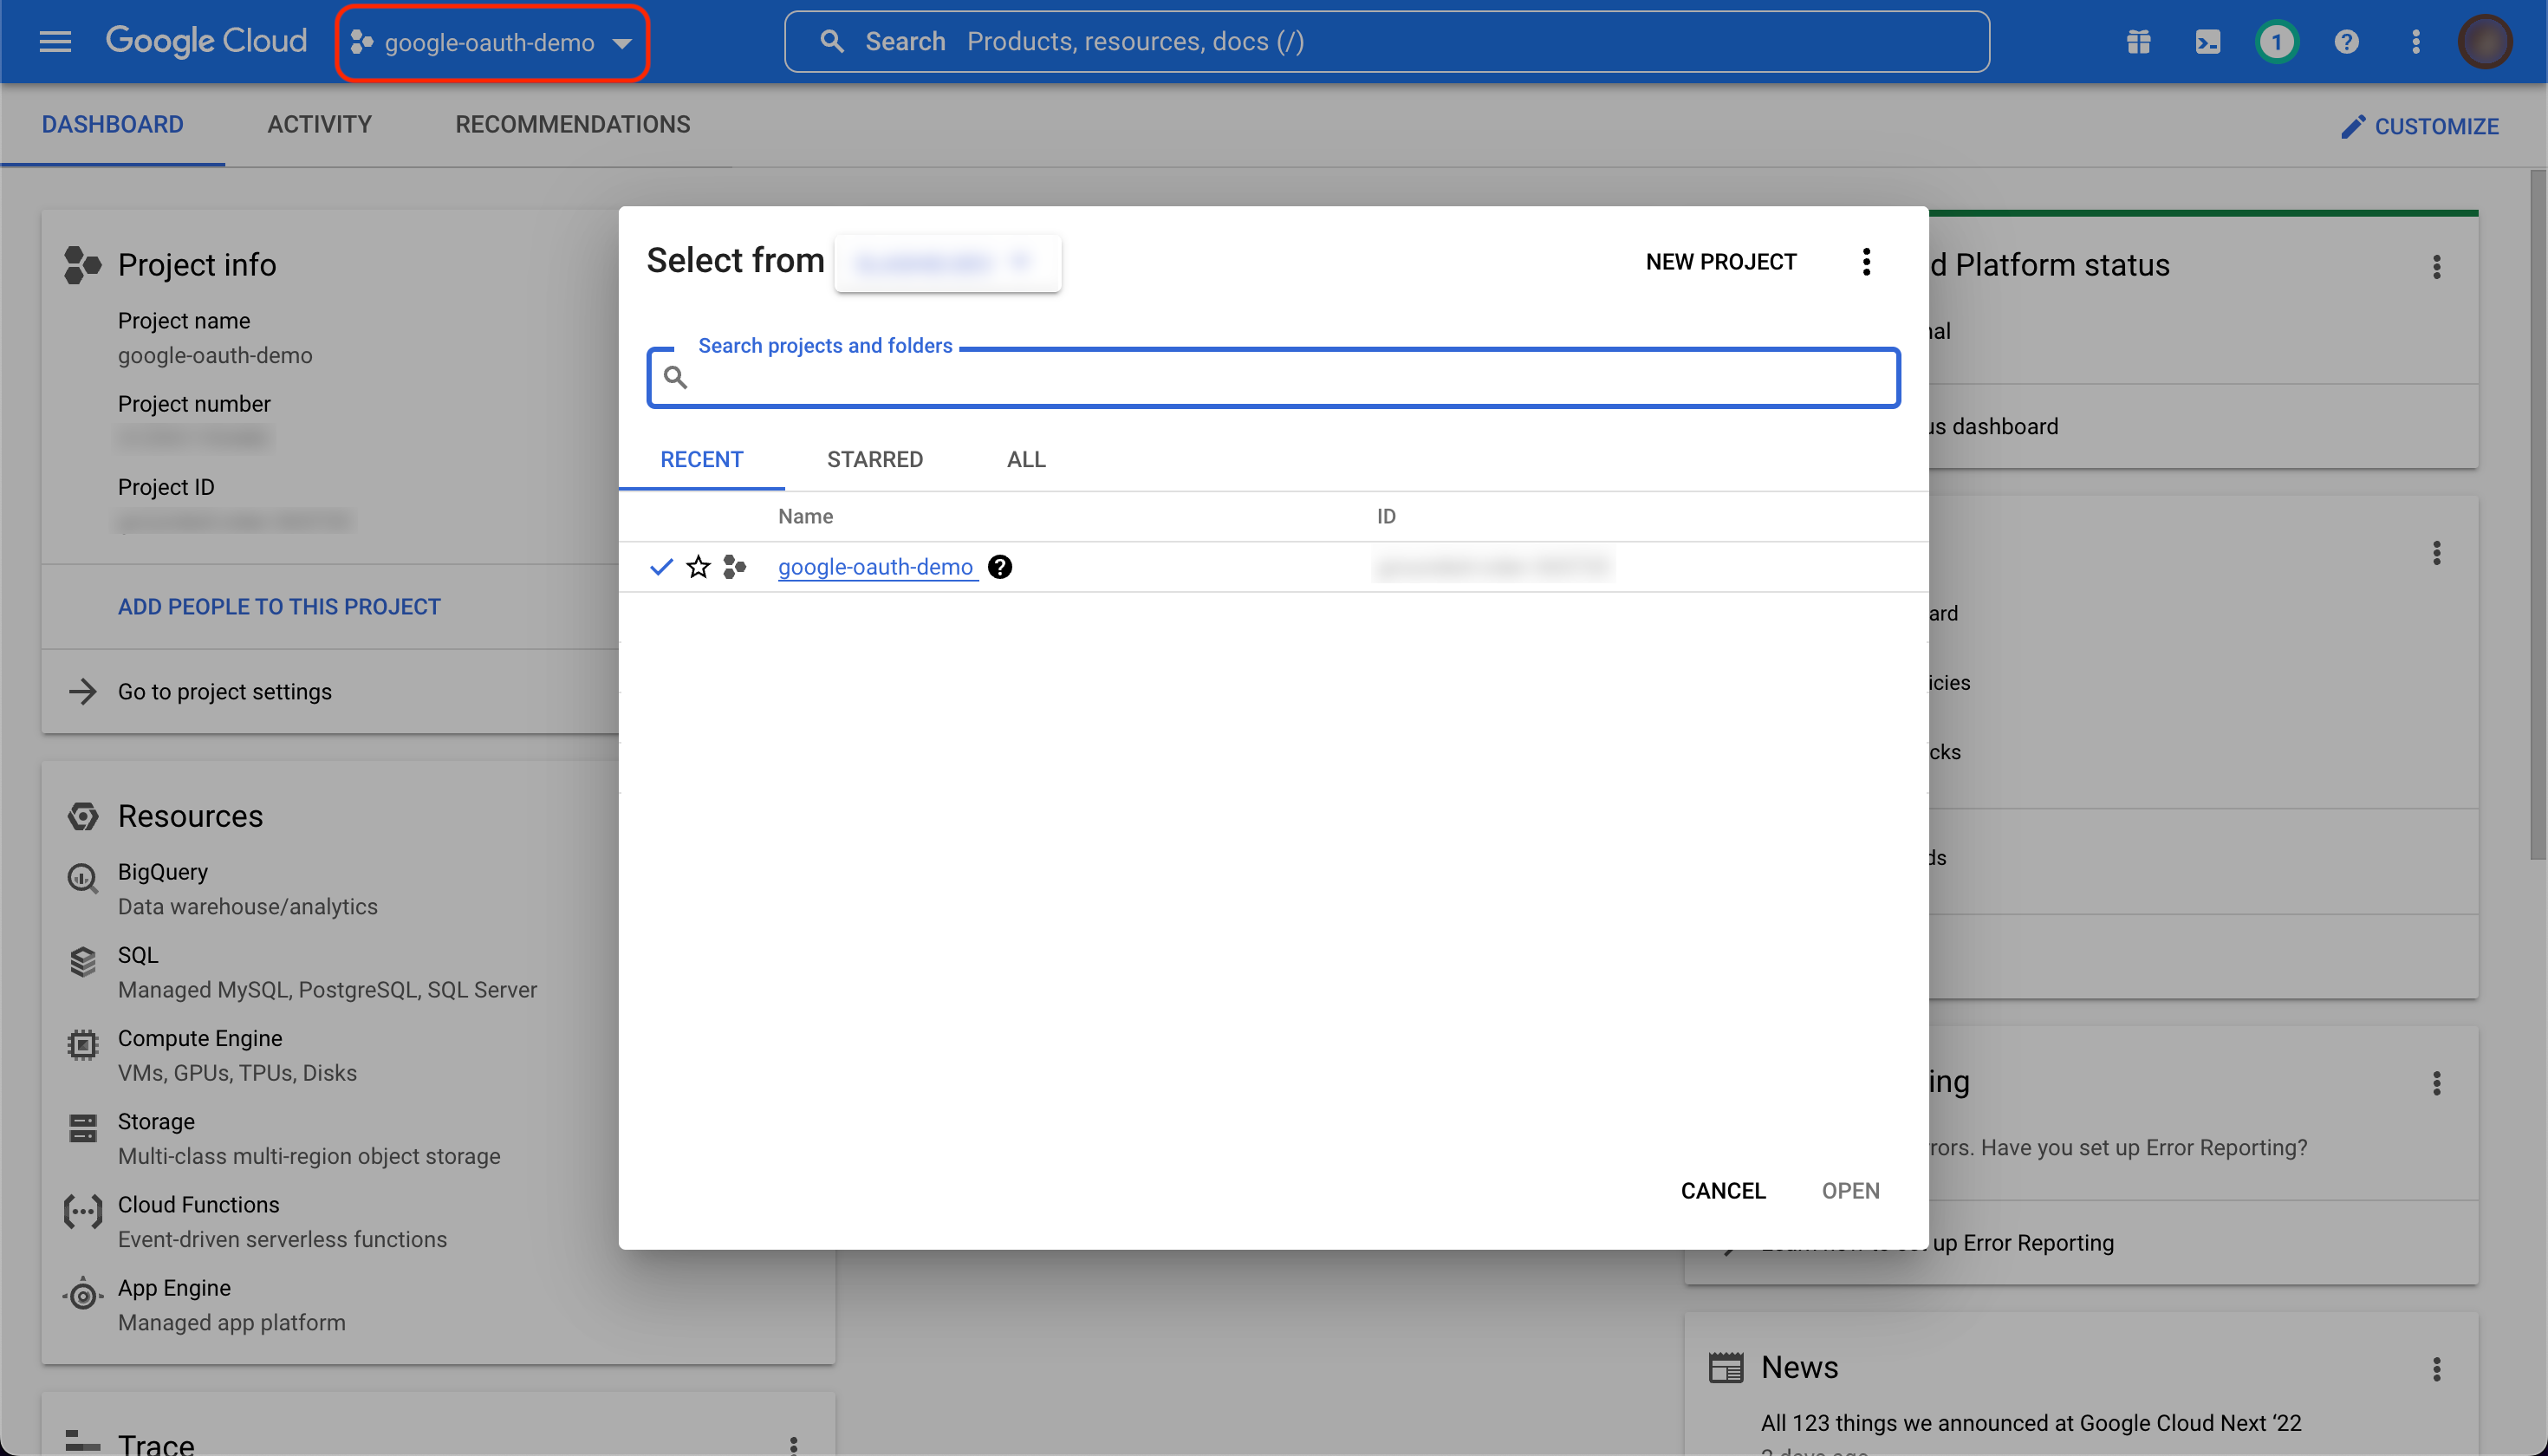
First, log in to the GCP Console, and select the project you want to use, or create a new project.
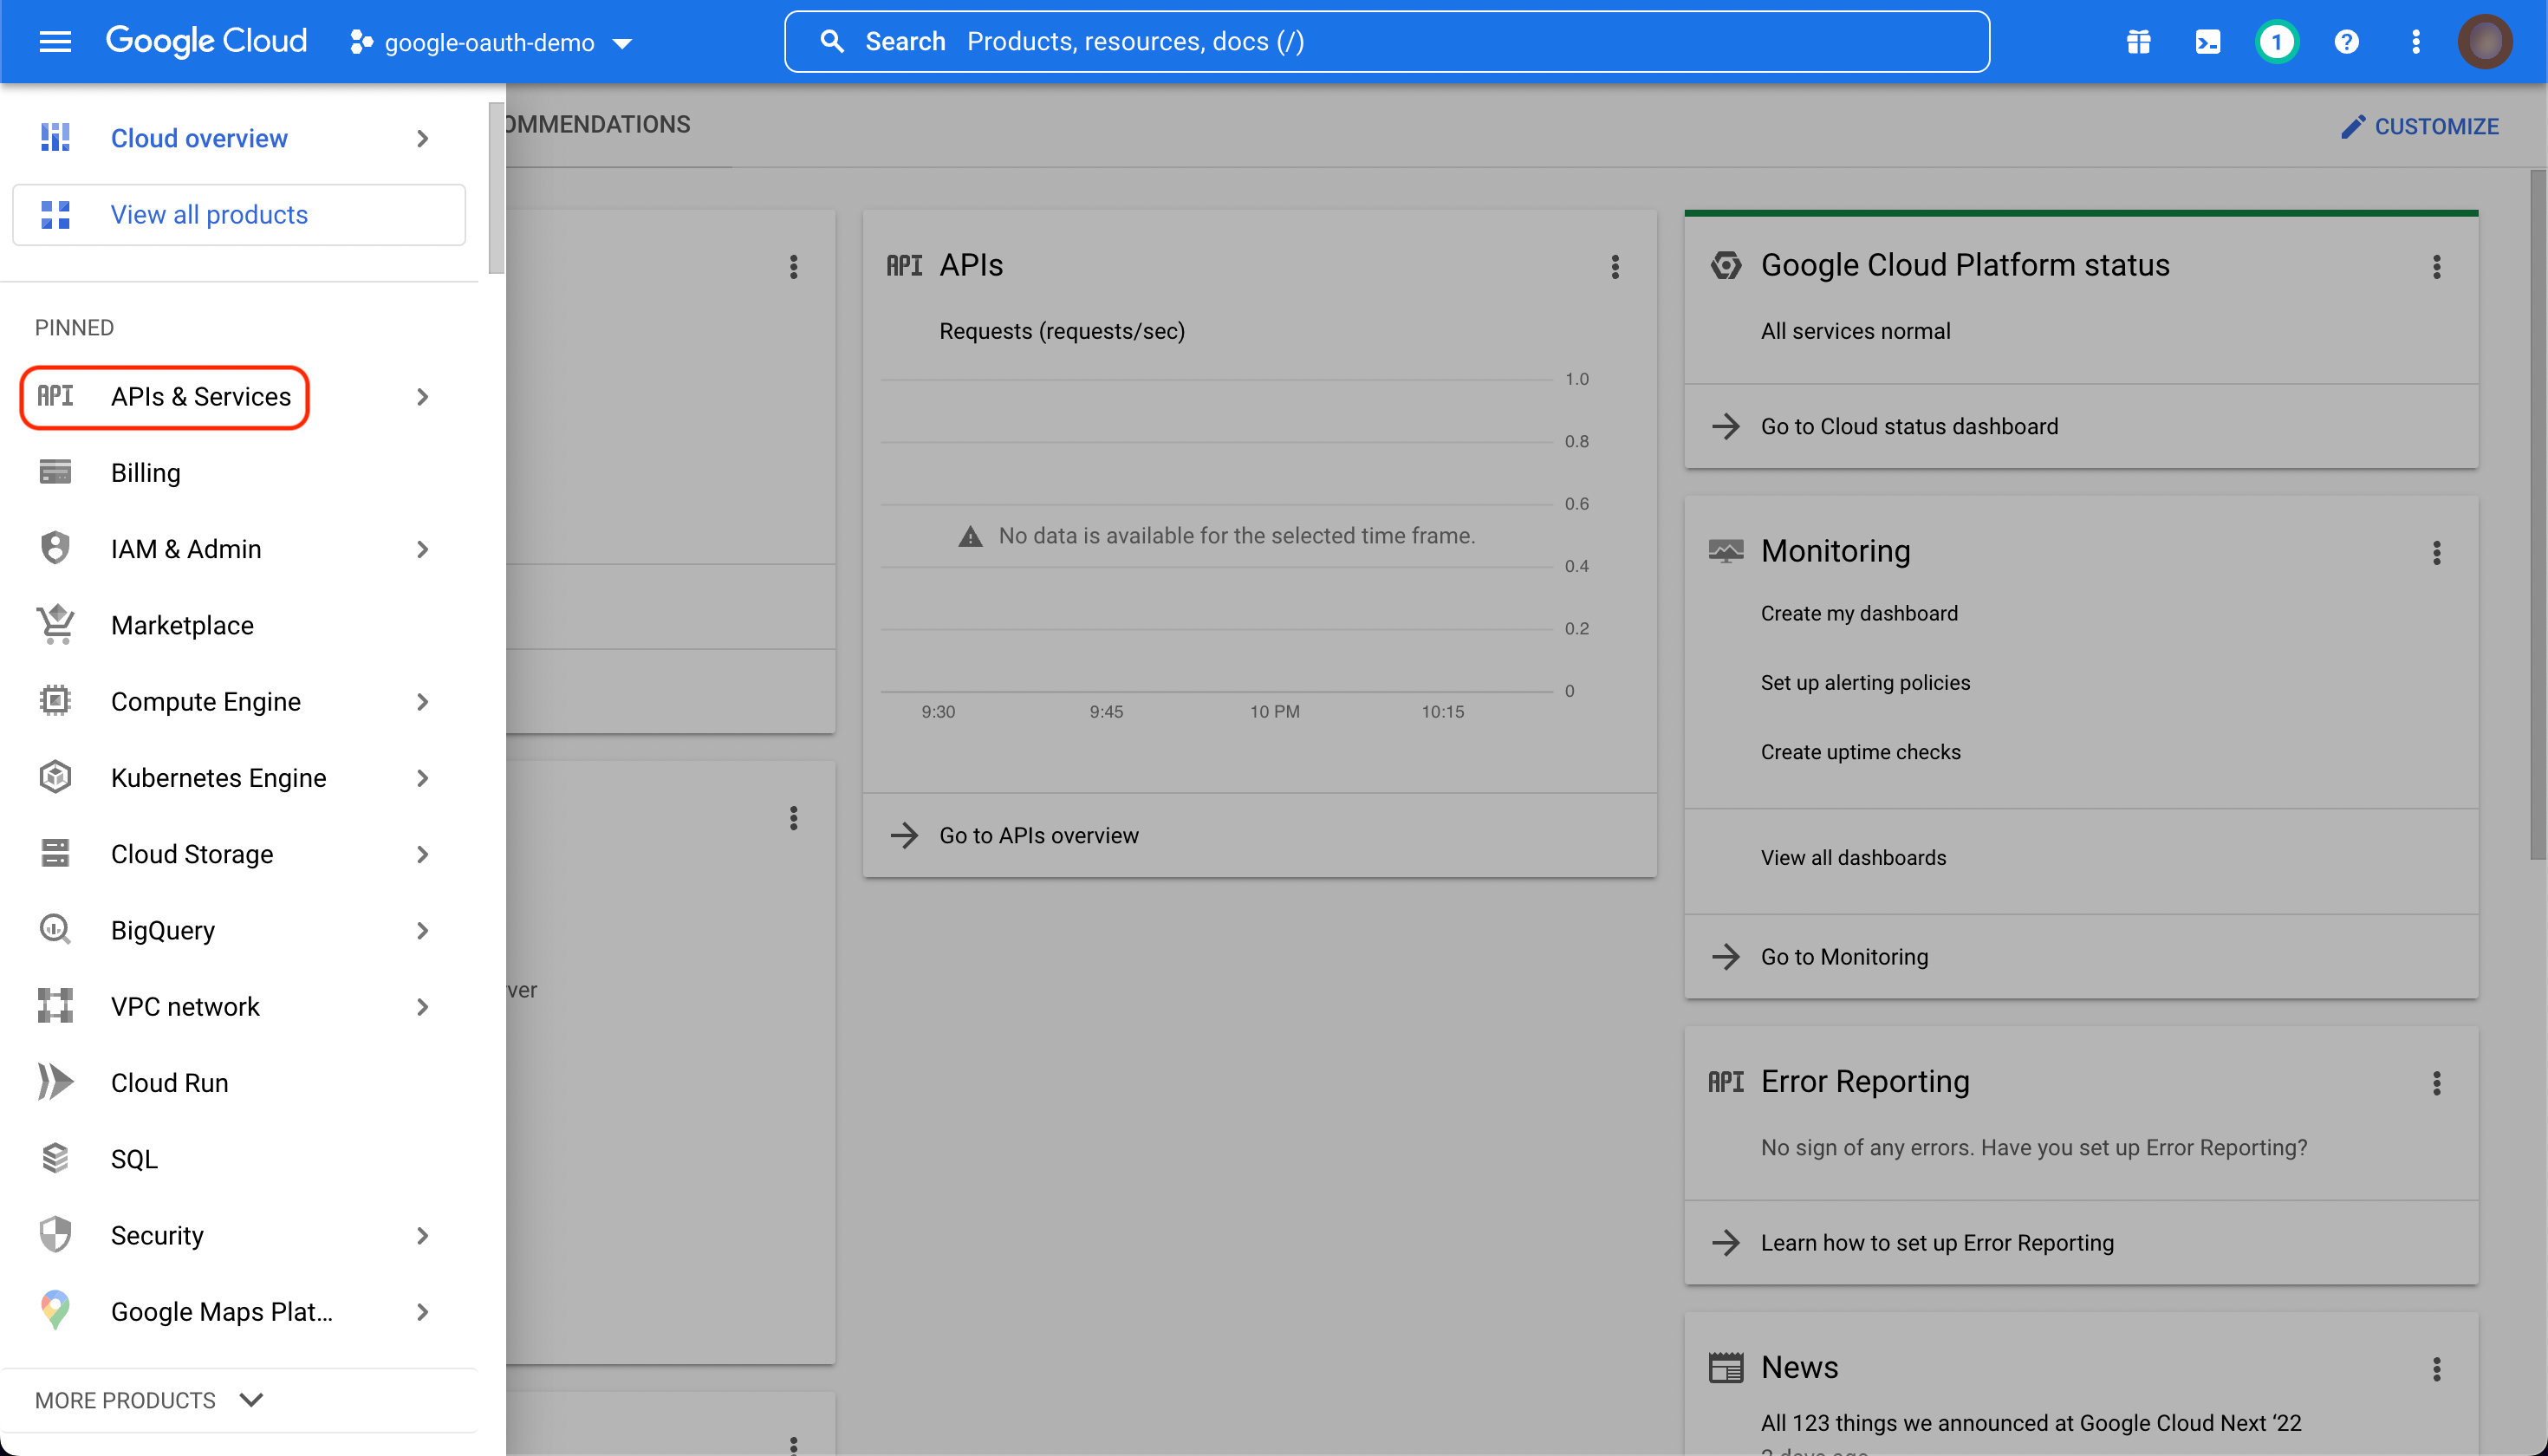
Next, open the navigation menu on the left-hand side and select "APIs and Services".
Configuring your app
First, you will need to configure the application you want to authenticate with SSO. This is not an exhaustive guide for all options, and we recommend reading the Google documentation to make sure your app is correctly configured for your usecase.
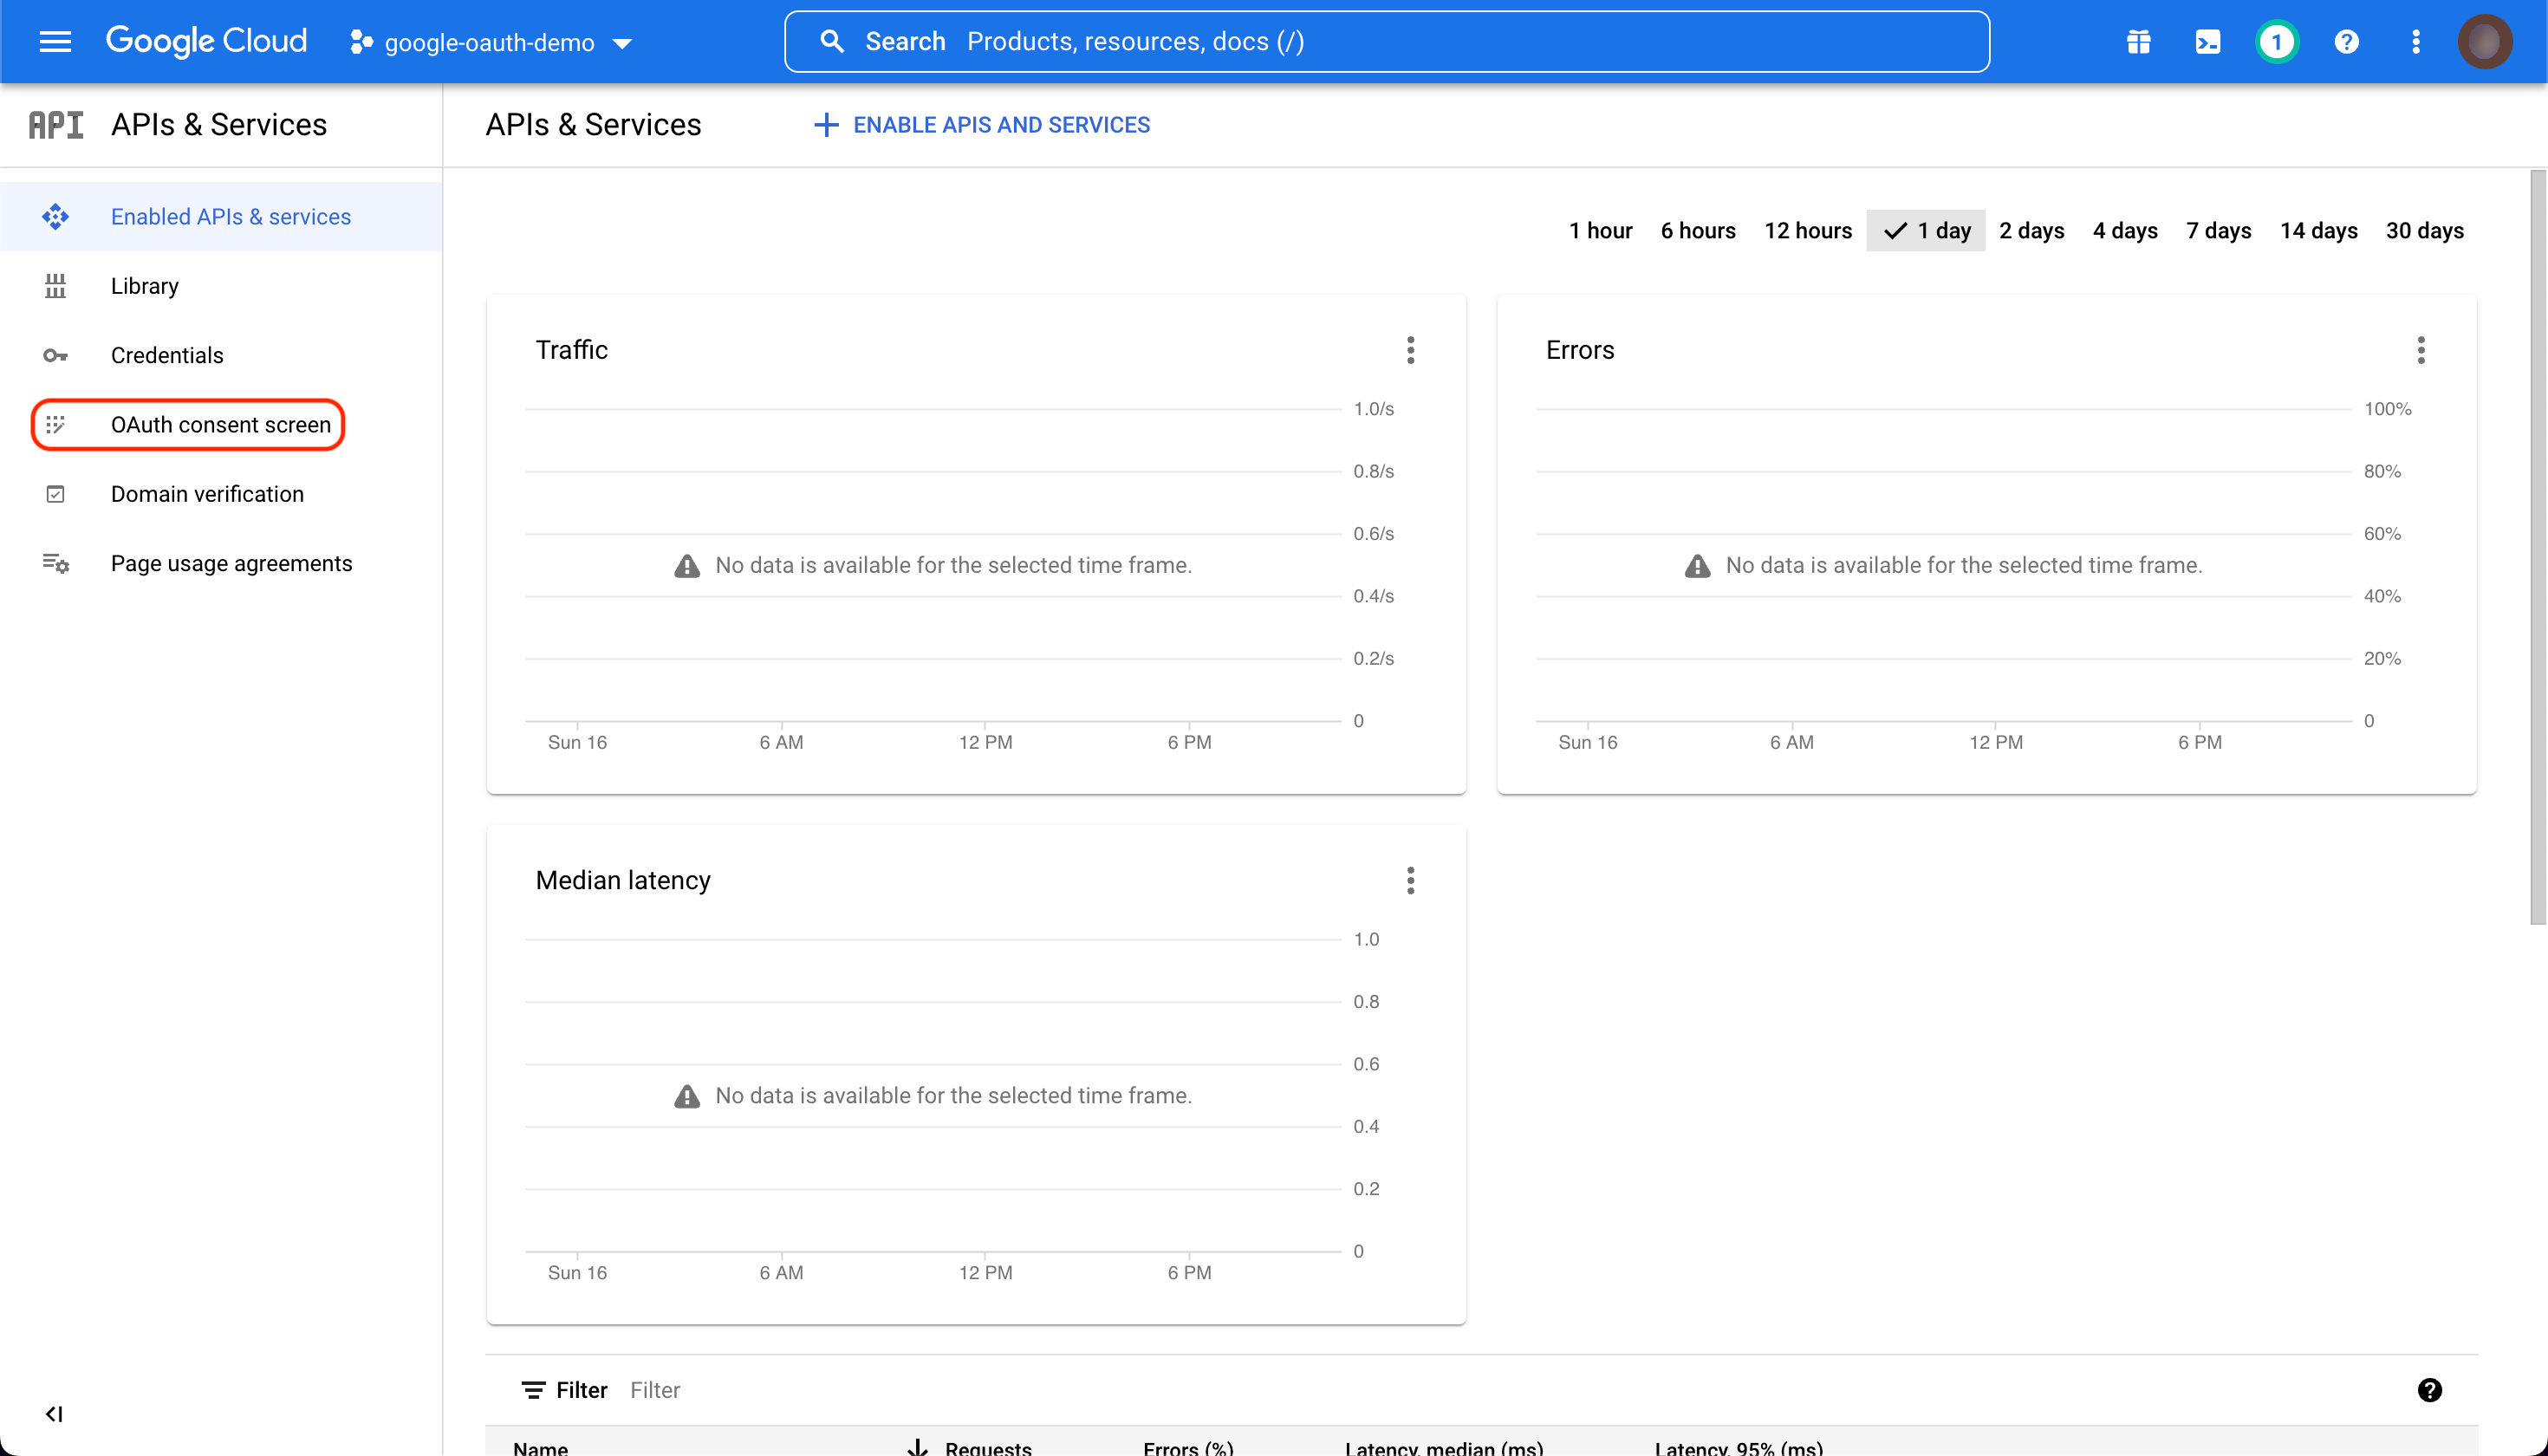
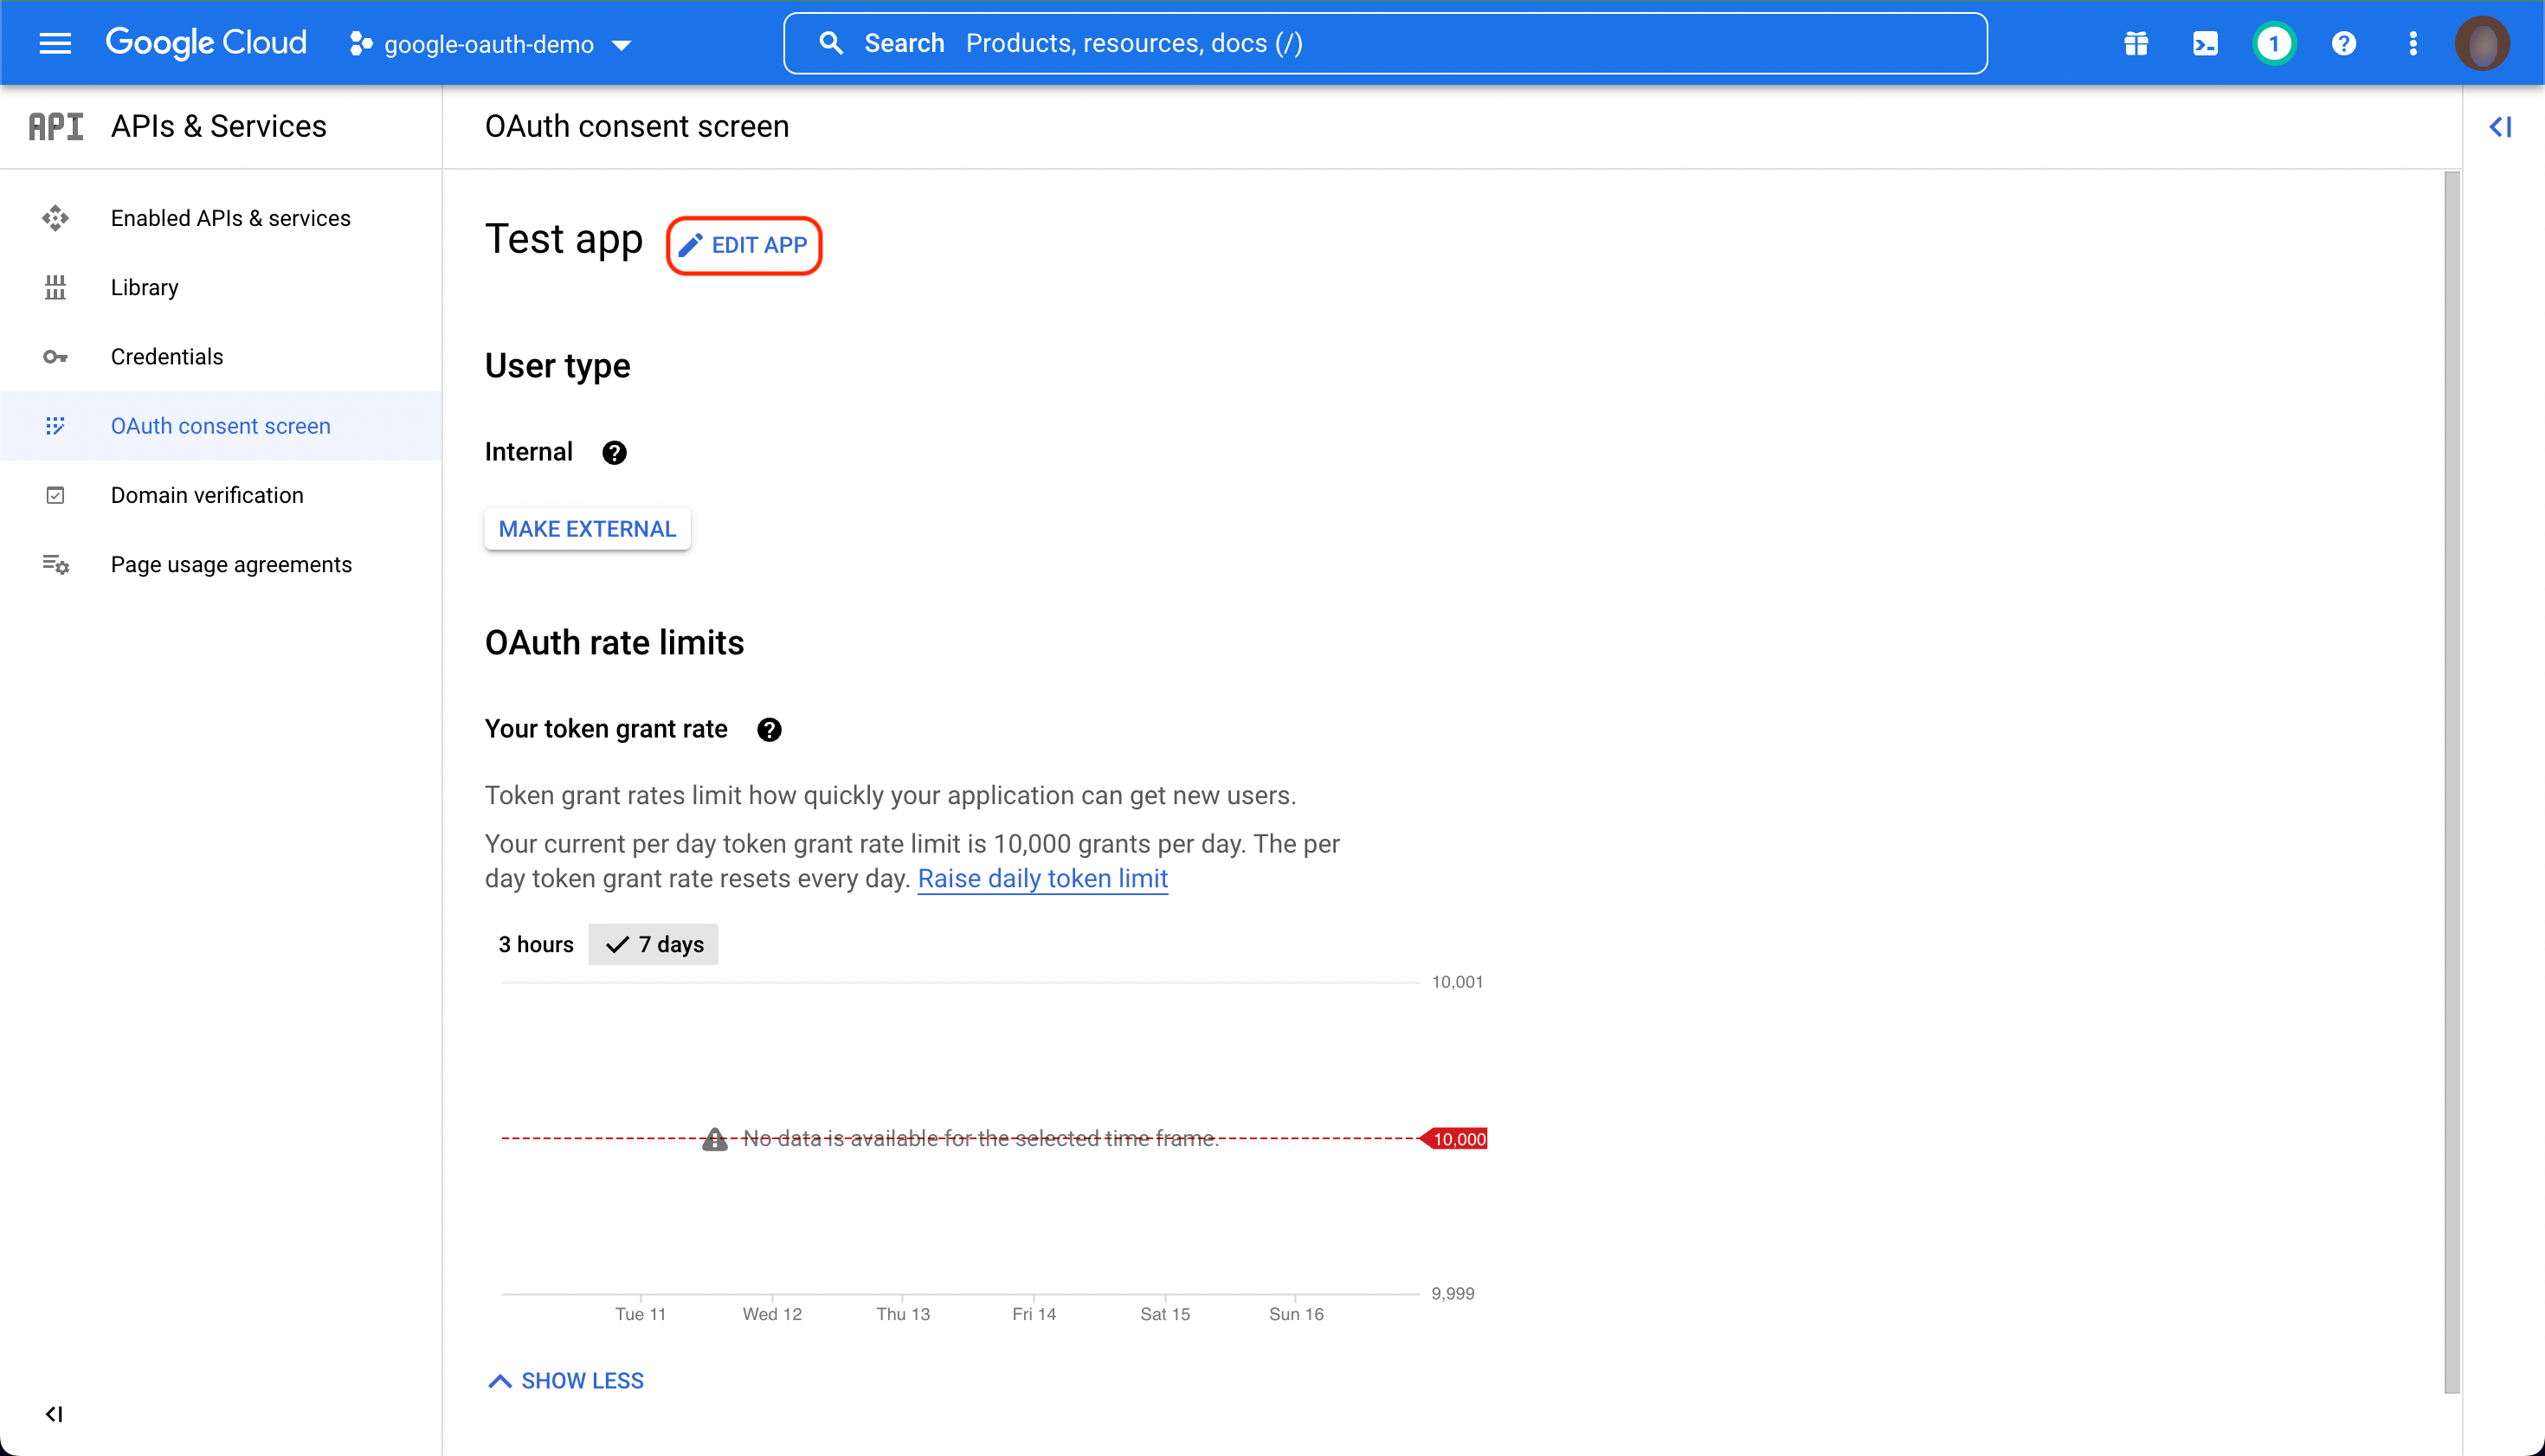
From the navigation menu on the left-hand side, select "OAuth consent screen".
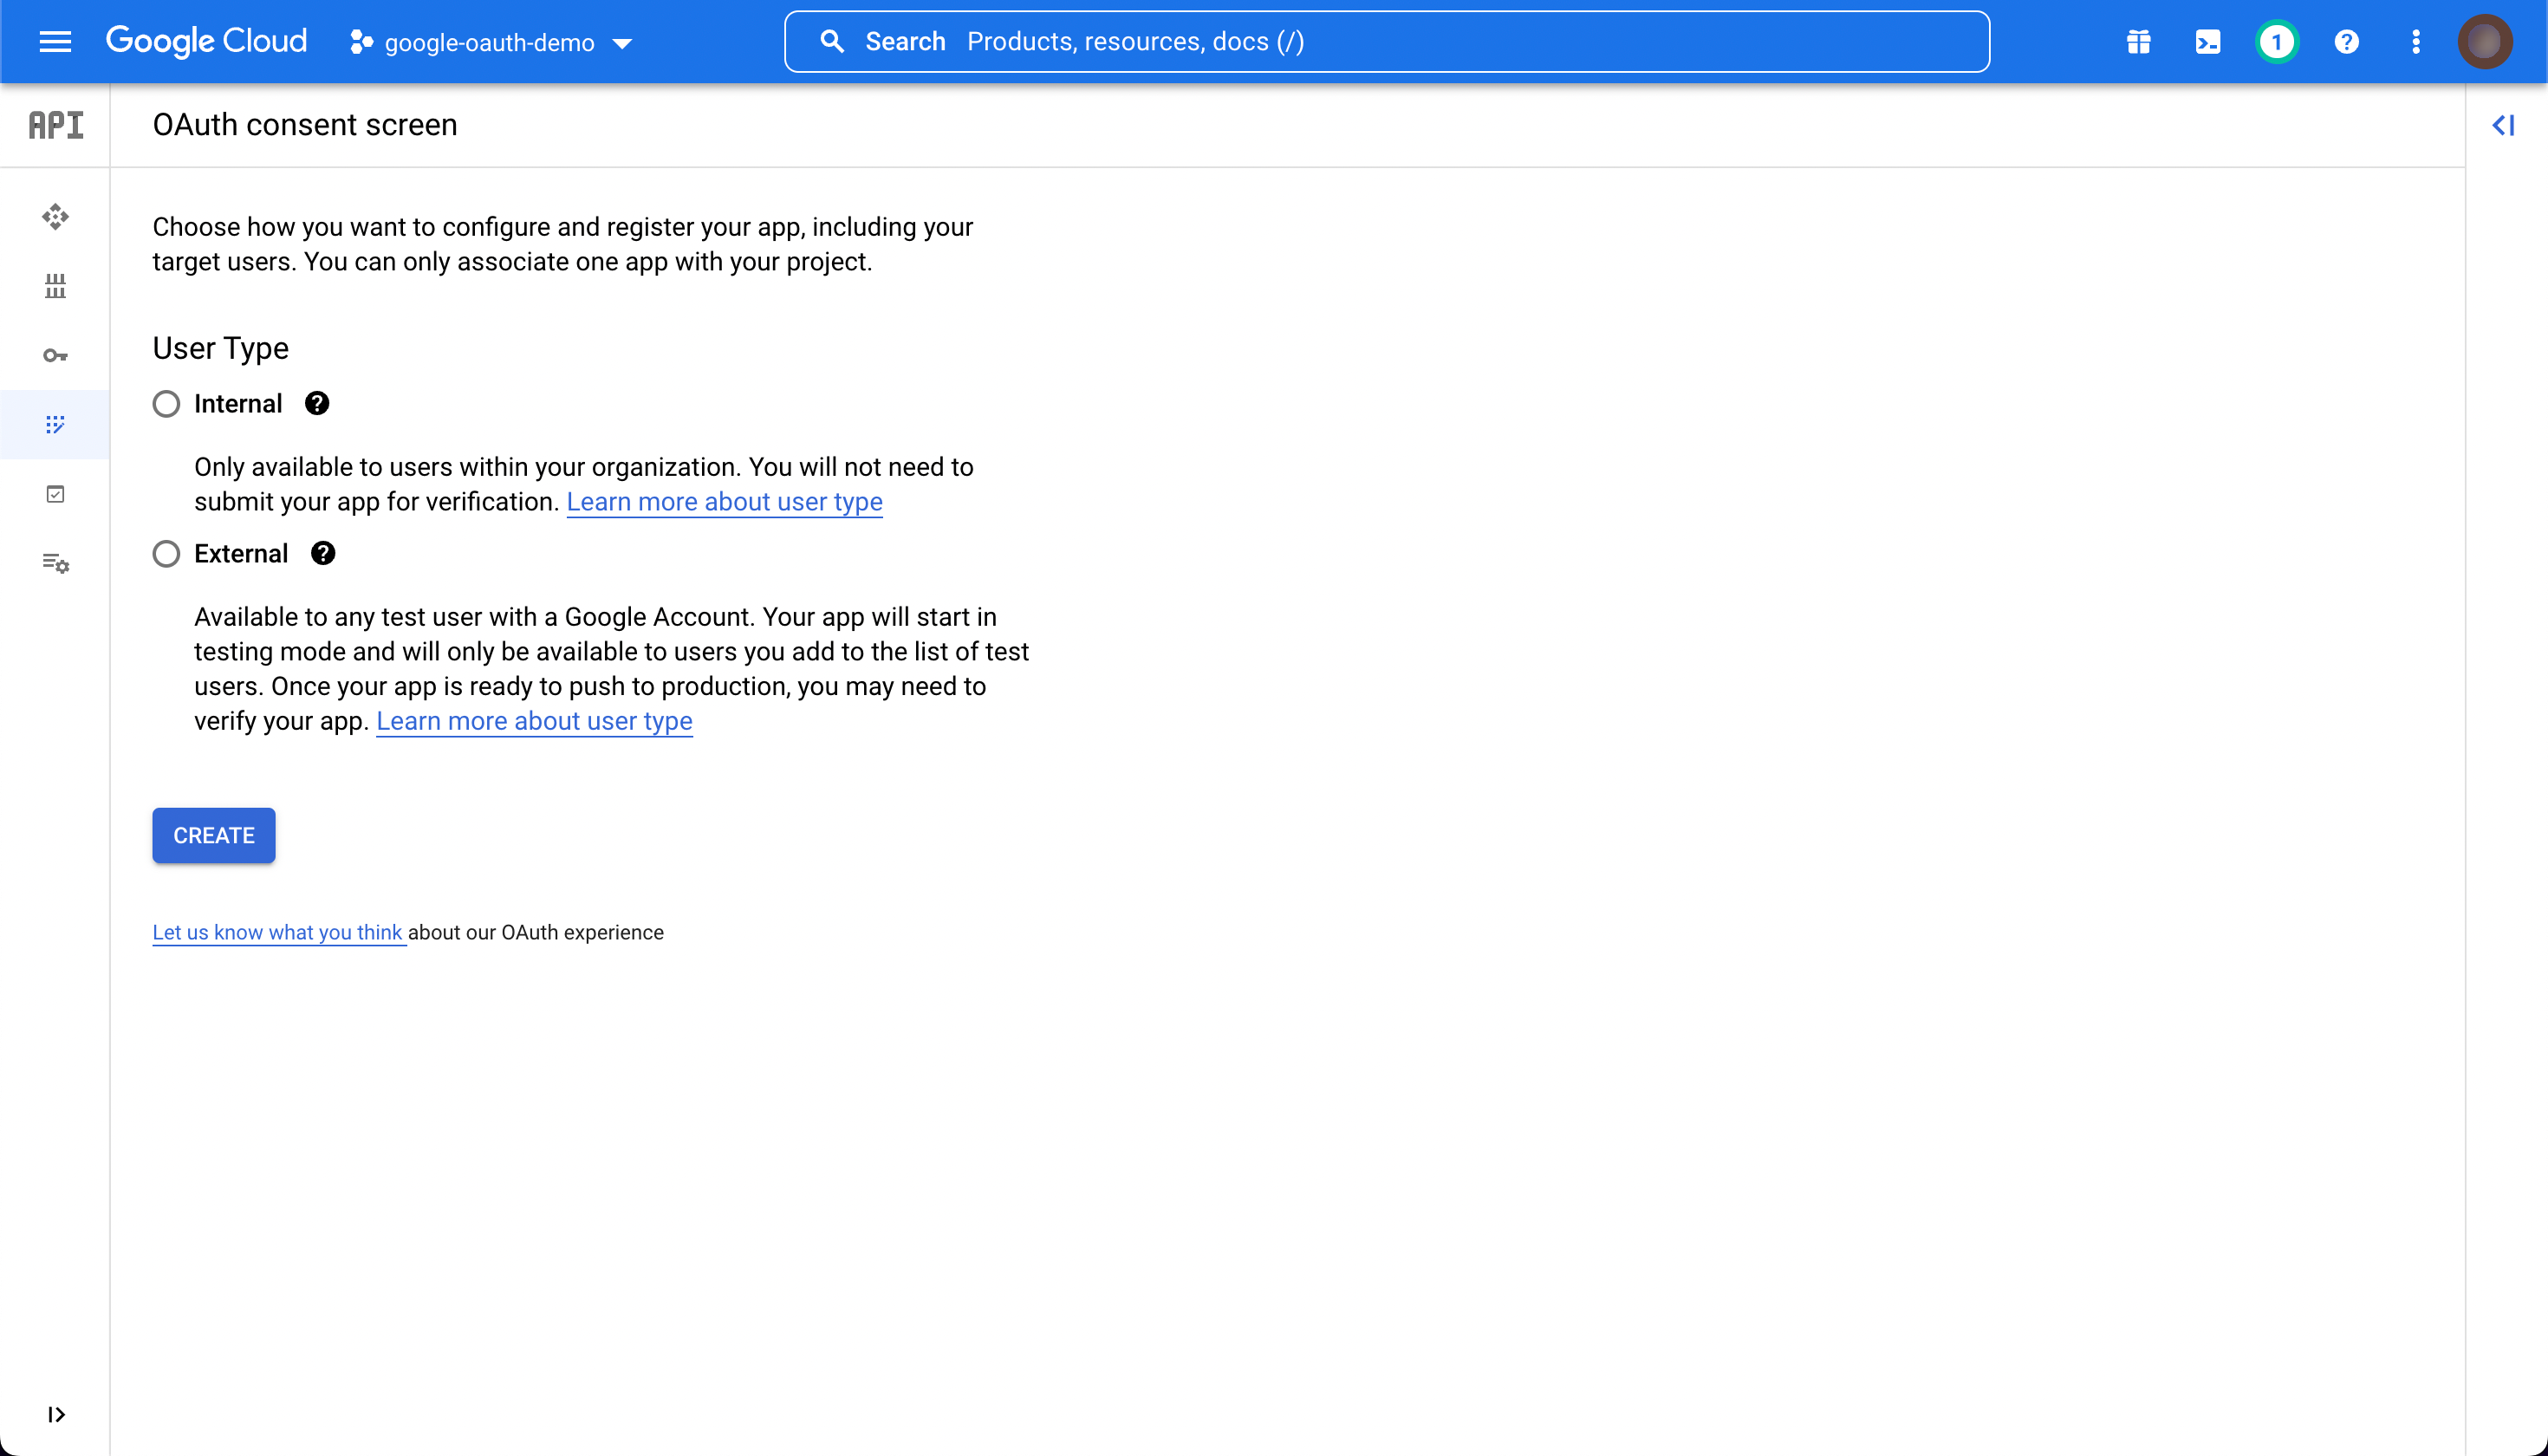
If there is not an existing app for this project, you will need to set up a new one. You will need to choose whether to make the app internal (for members of your organization only) or external (available to any Google user). This can be changed later. Once you have chosen, click "CREATE".
If you have an existing app, click "EDIT APP".
You will see a page with options for configuring your app. The important
section for integrating with SlashID is "Authorized domains". Add slashid.dev to the list of authorized domains for your app.
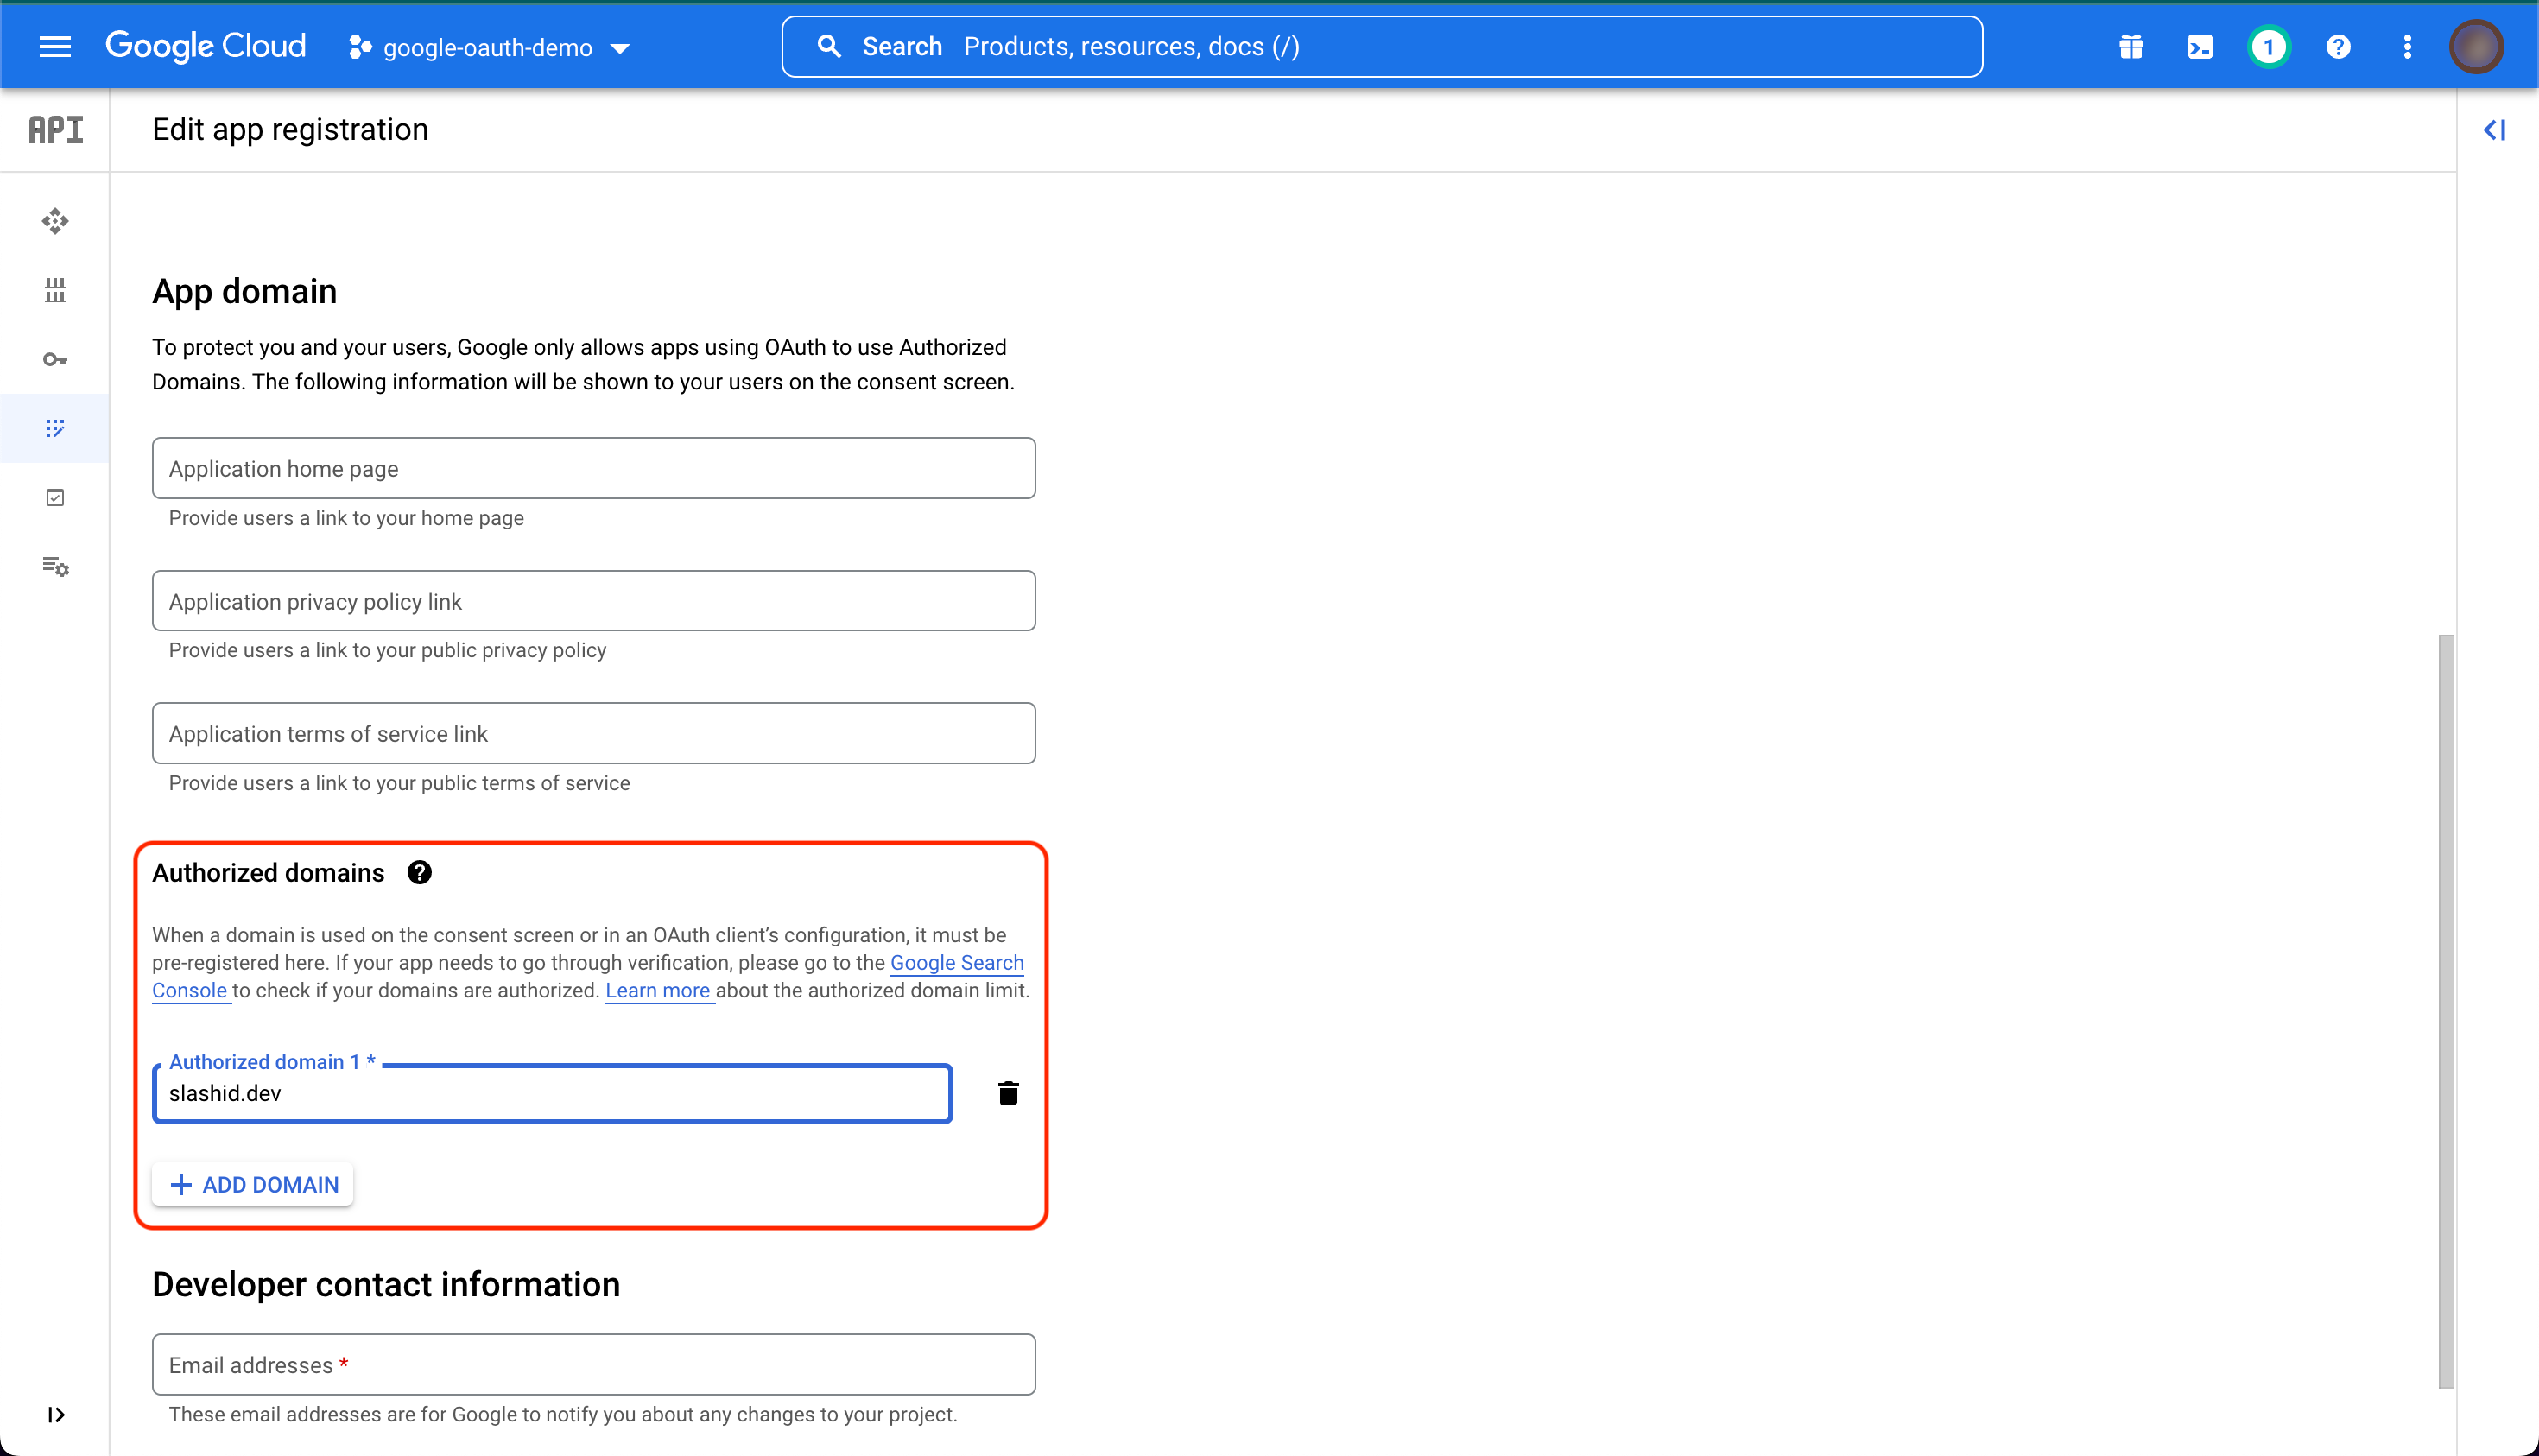
Configure the remaining fields as needed for your application, then click "SAVE AND CONTINUE".
On the next page you will be asked which scopes you want to request from users logging in with SSO.
These determine which APIs you will be access on the user's behalf using the OAuth2 access token.
You can modify the requested scopes later.
The SlashID backend will always request the openid, email, and profile scopes in order to obtain the ID token and other required information.
Once you have finished, click "SAVE AND CONTINUE".
Review the summary of your app and then click "RETURN TO DASHBOARD".
Creating client credentials
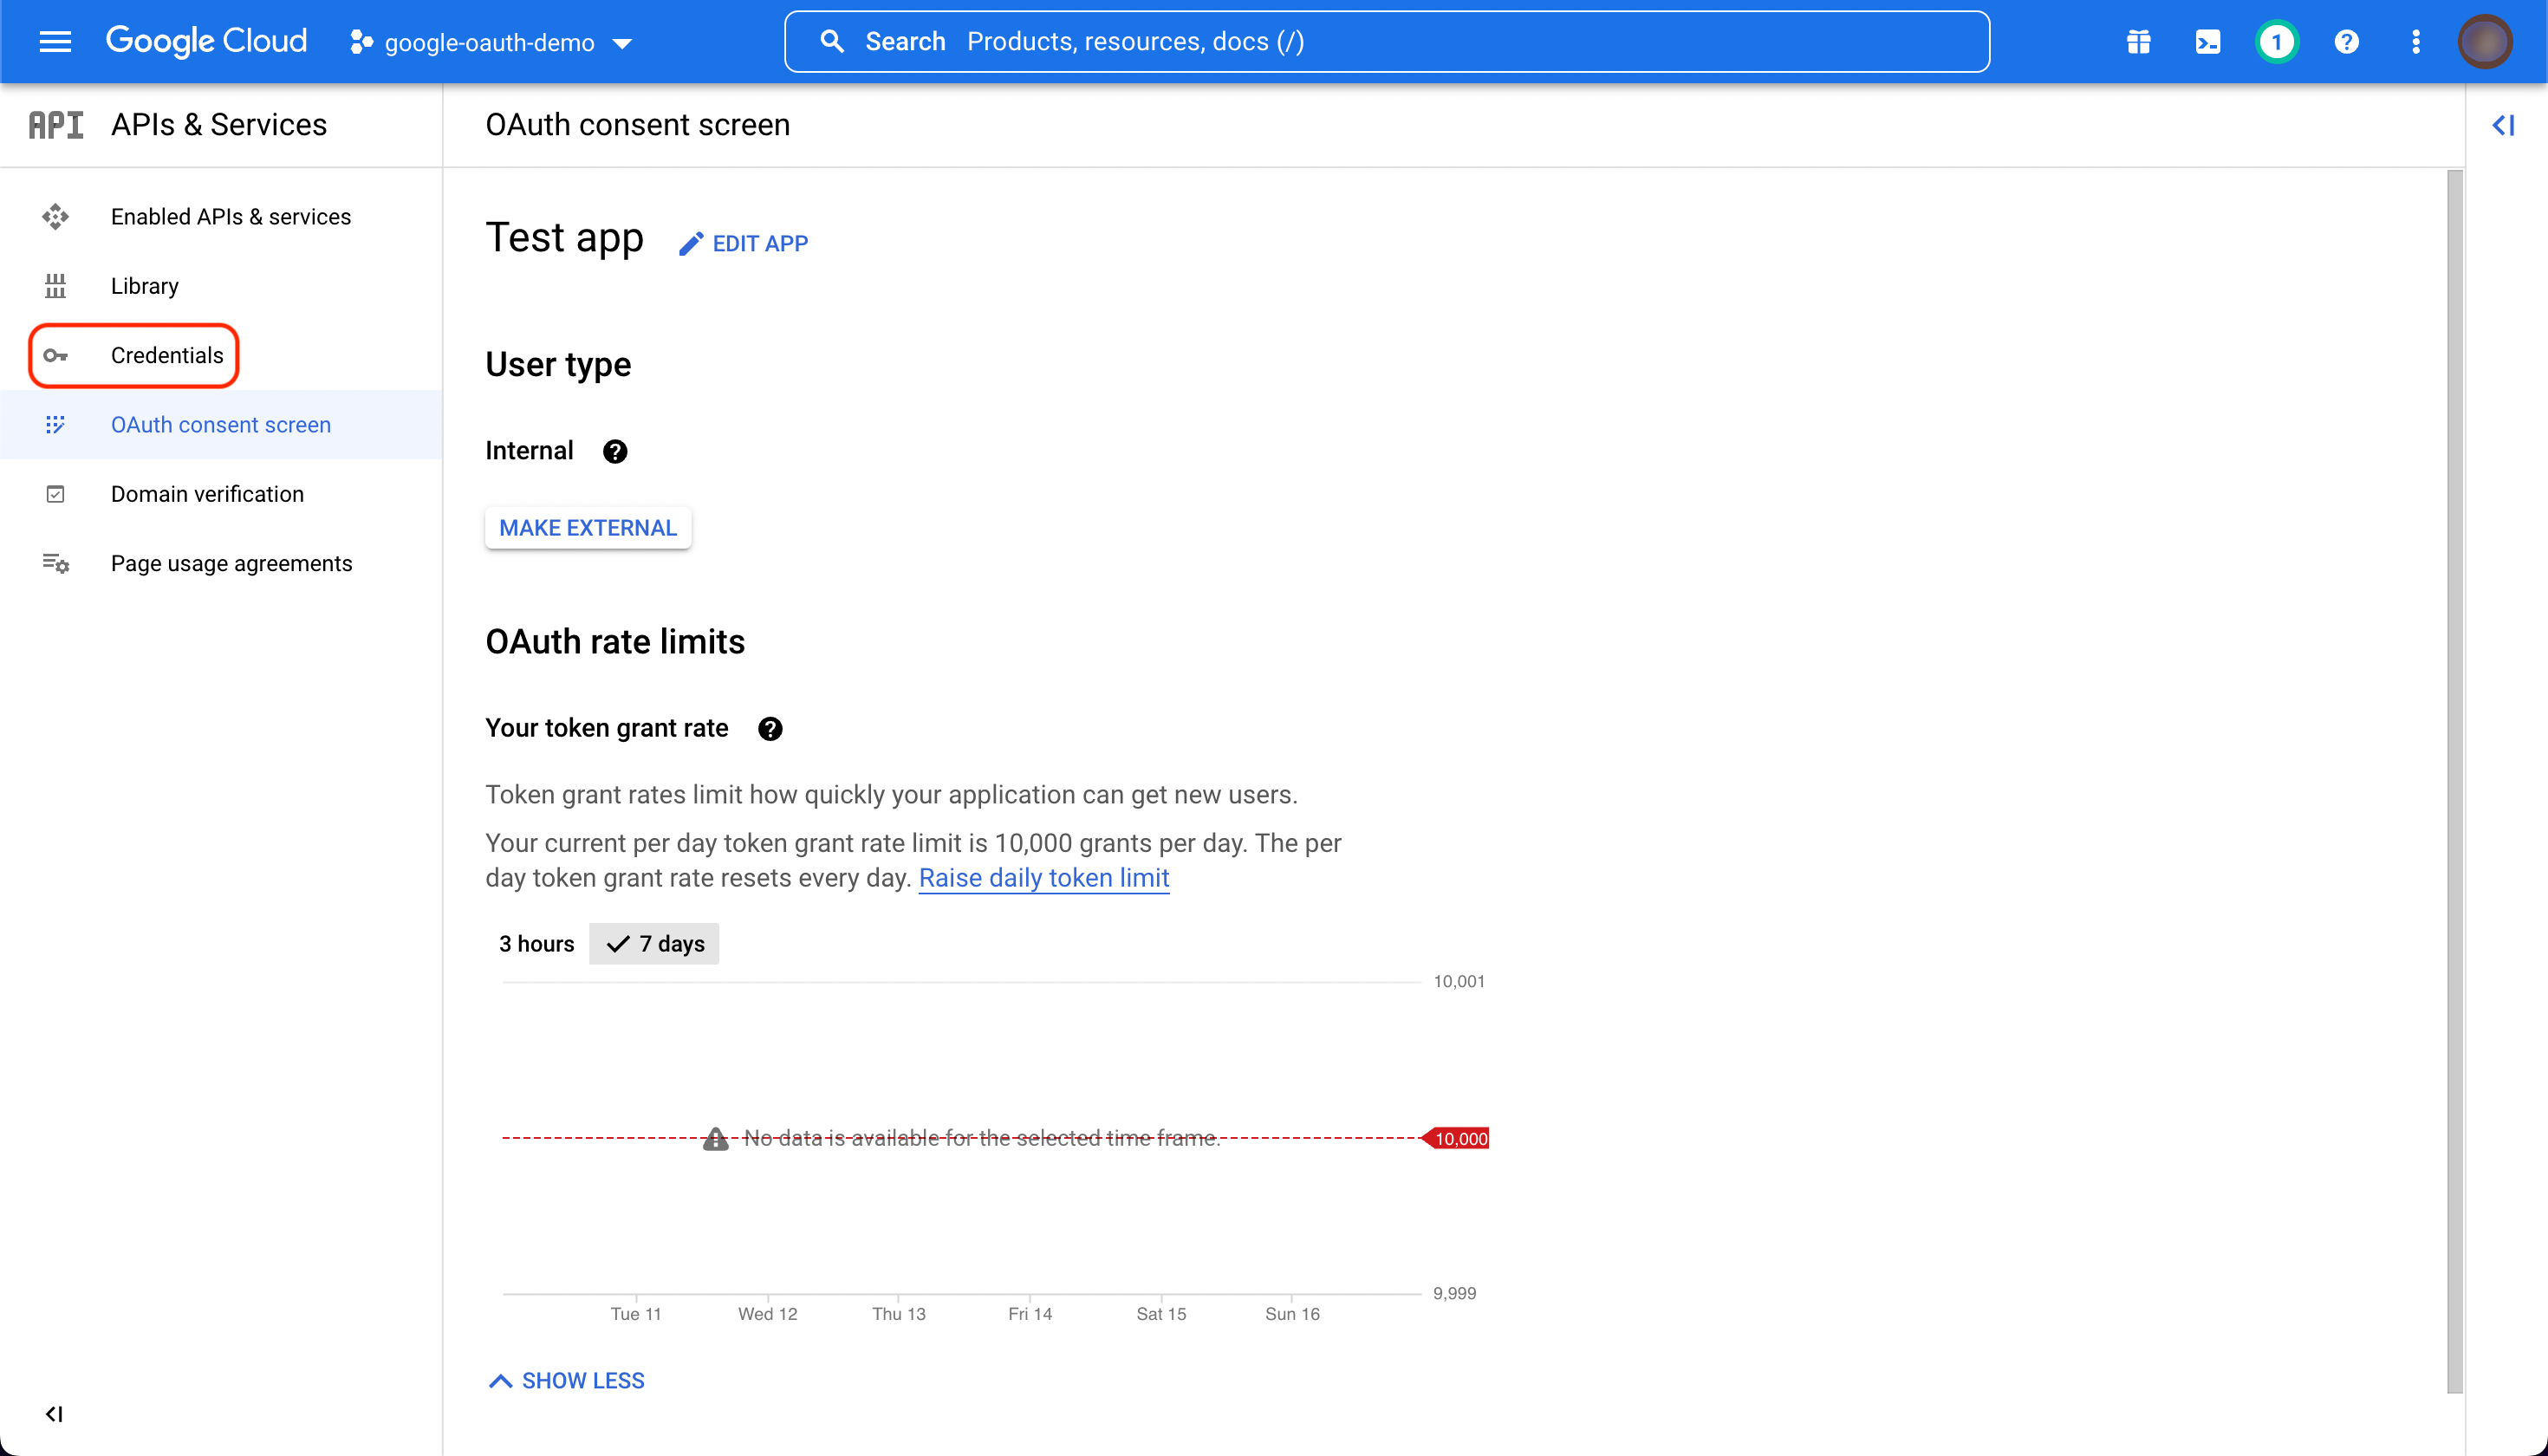
Now that you've configured your app, you can create the OAuth2 client credentials. From the navigation menu, select "Credentials".
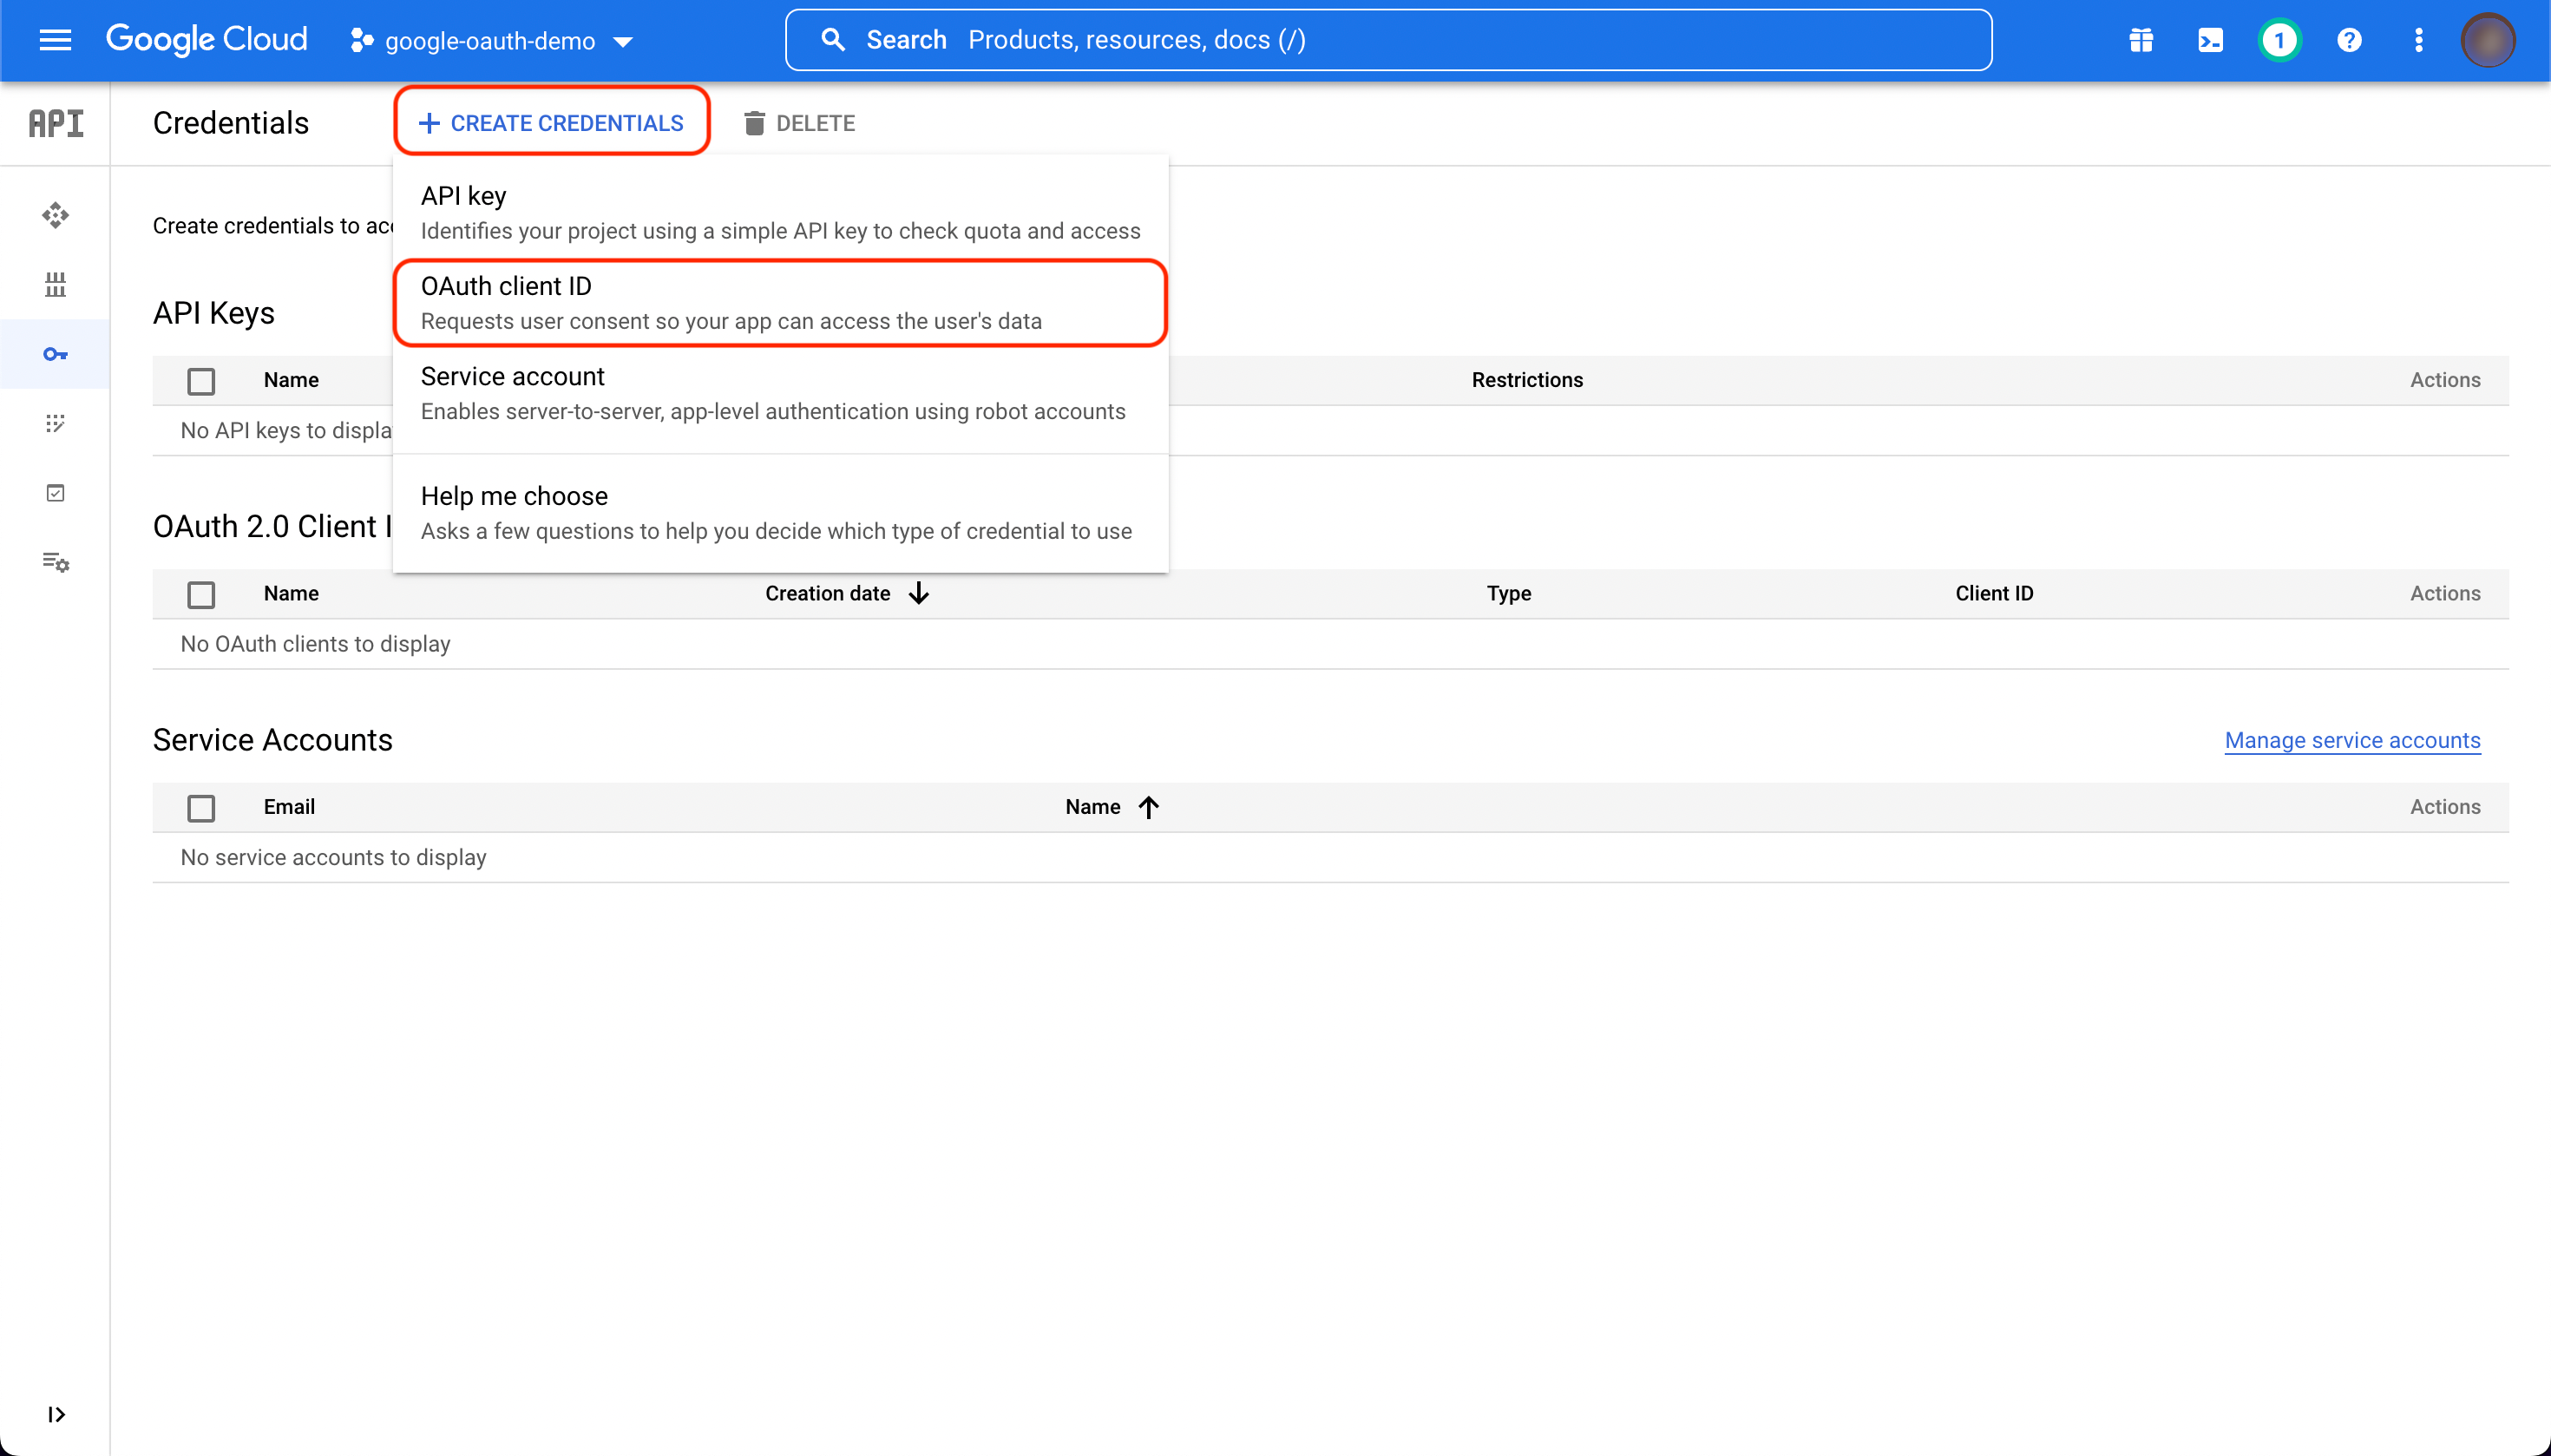
At the top of the page, click "CREATE CREDENTIALS" and select "OAuth client ID" from the drop down menu.
From the "Application type" drop down, select "Web application" and choose a name for your application. It may be useful to use this name as the label when registering these credentials with SlashID.
Under "Authorized redirect URIs", click "ADD URI". Enter the following in the text box:
https://api.slashid.com/oauth/callbackif you are using the SlashID production environment,https://api.sandbox.slashid.com/oauth/callbackif you are using the SlashID sandbox environment.
and click "CREATE".
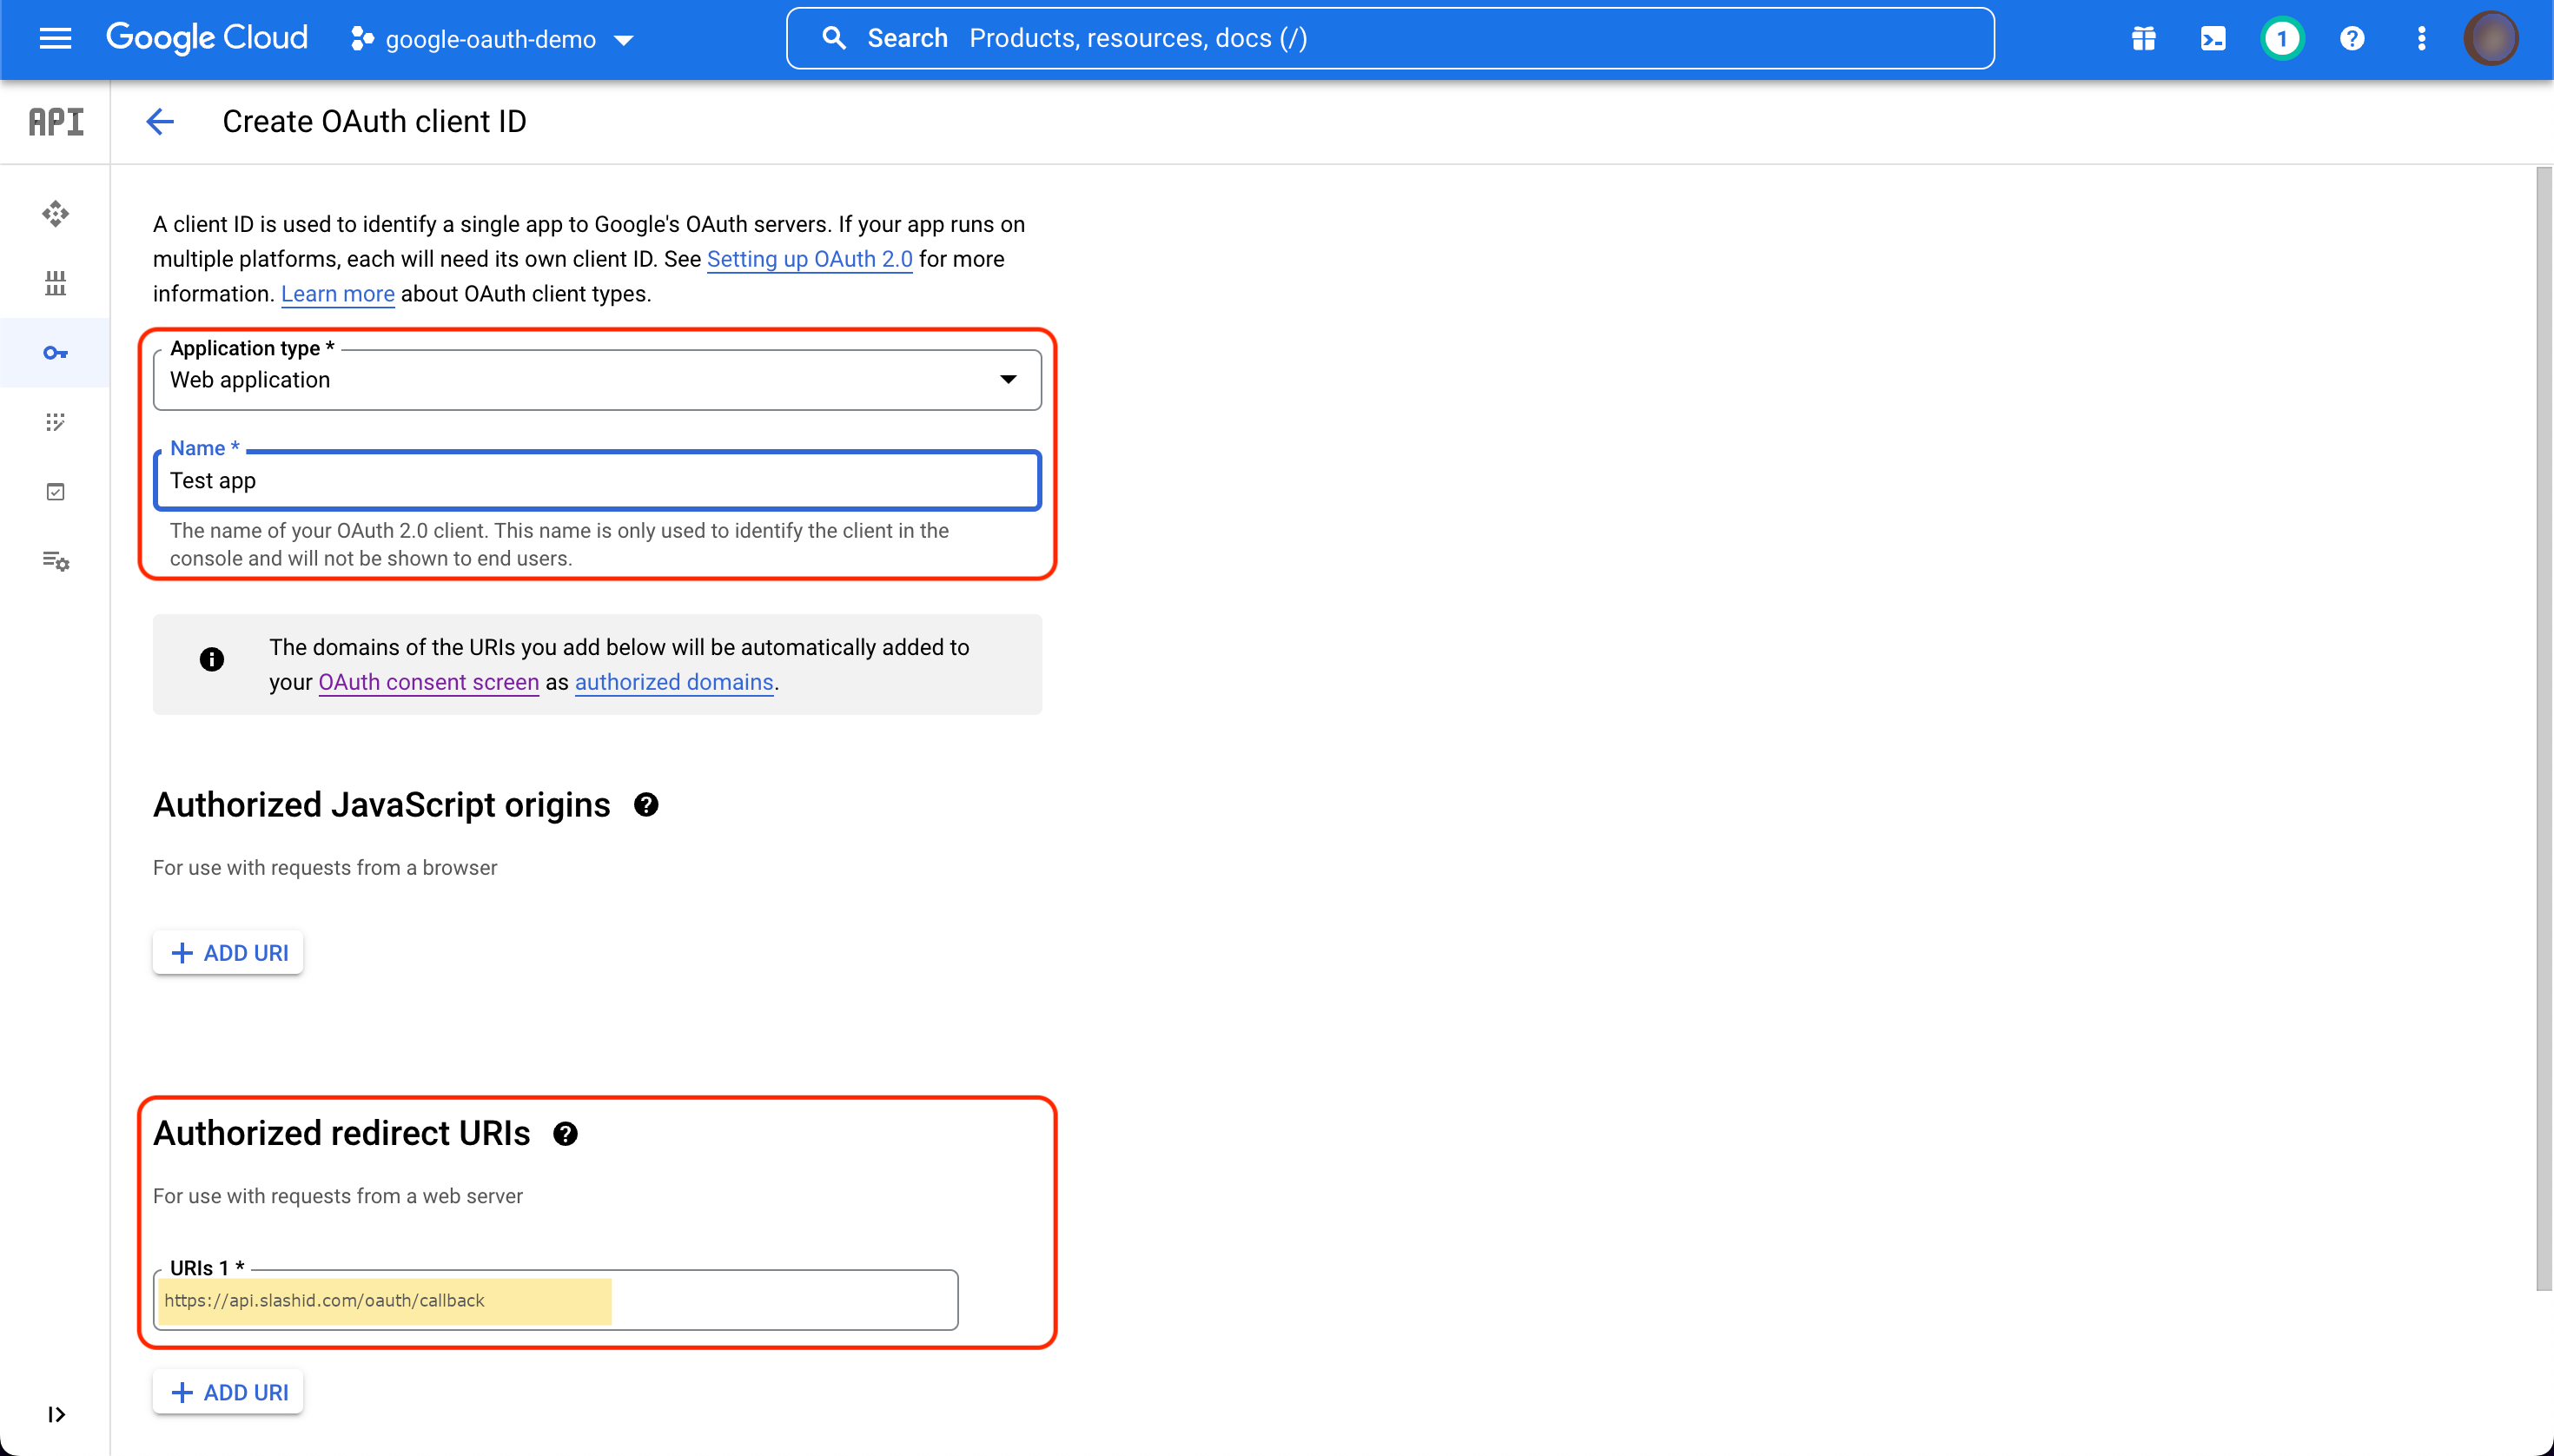
Note that the domain of the URL may differ if you are using a different SlashID environment, but the /oauth/callback path must remain the same.
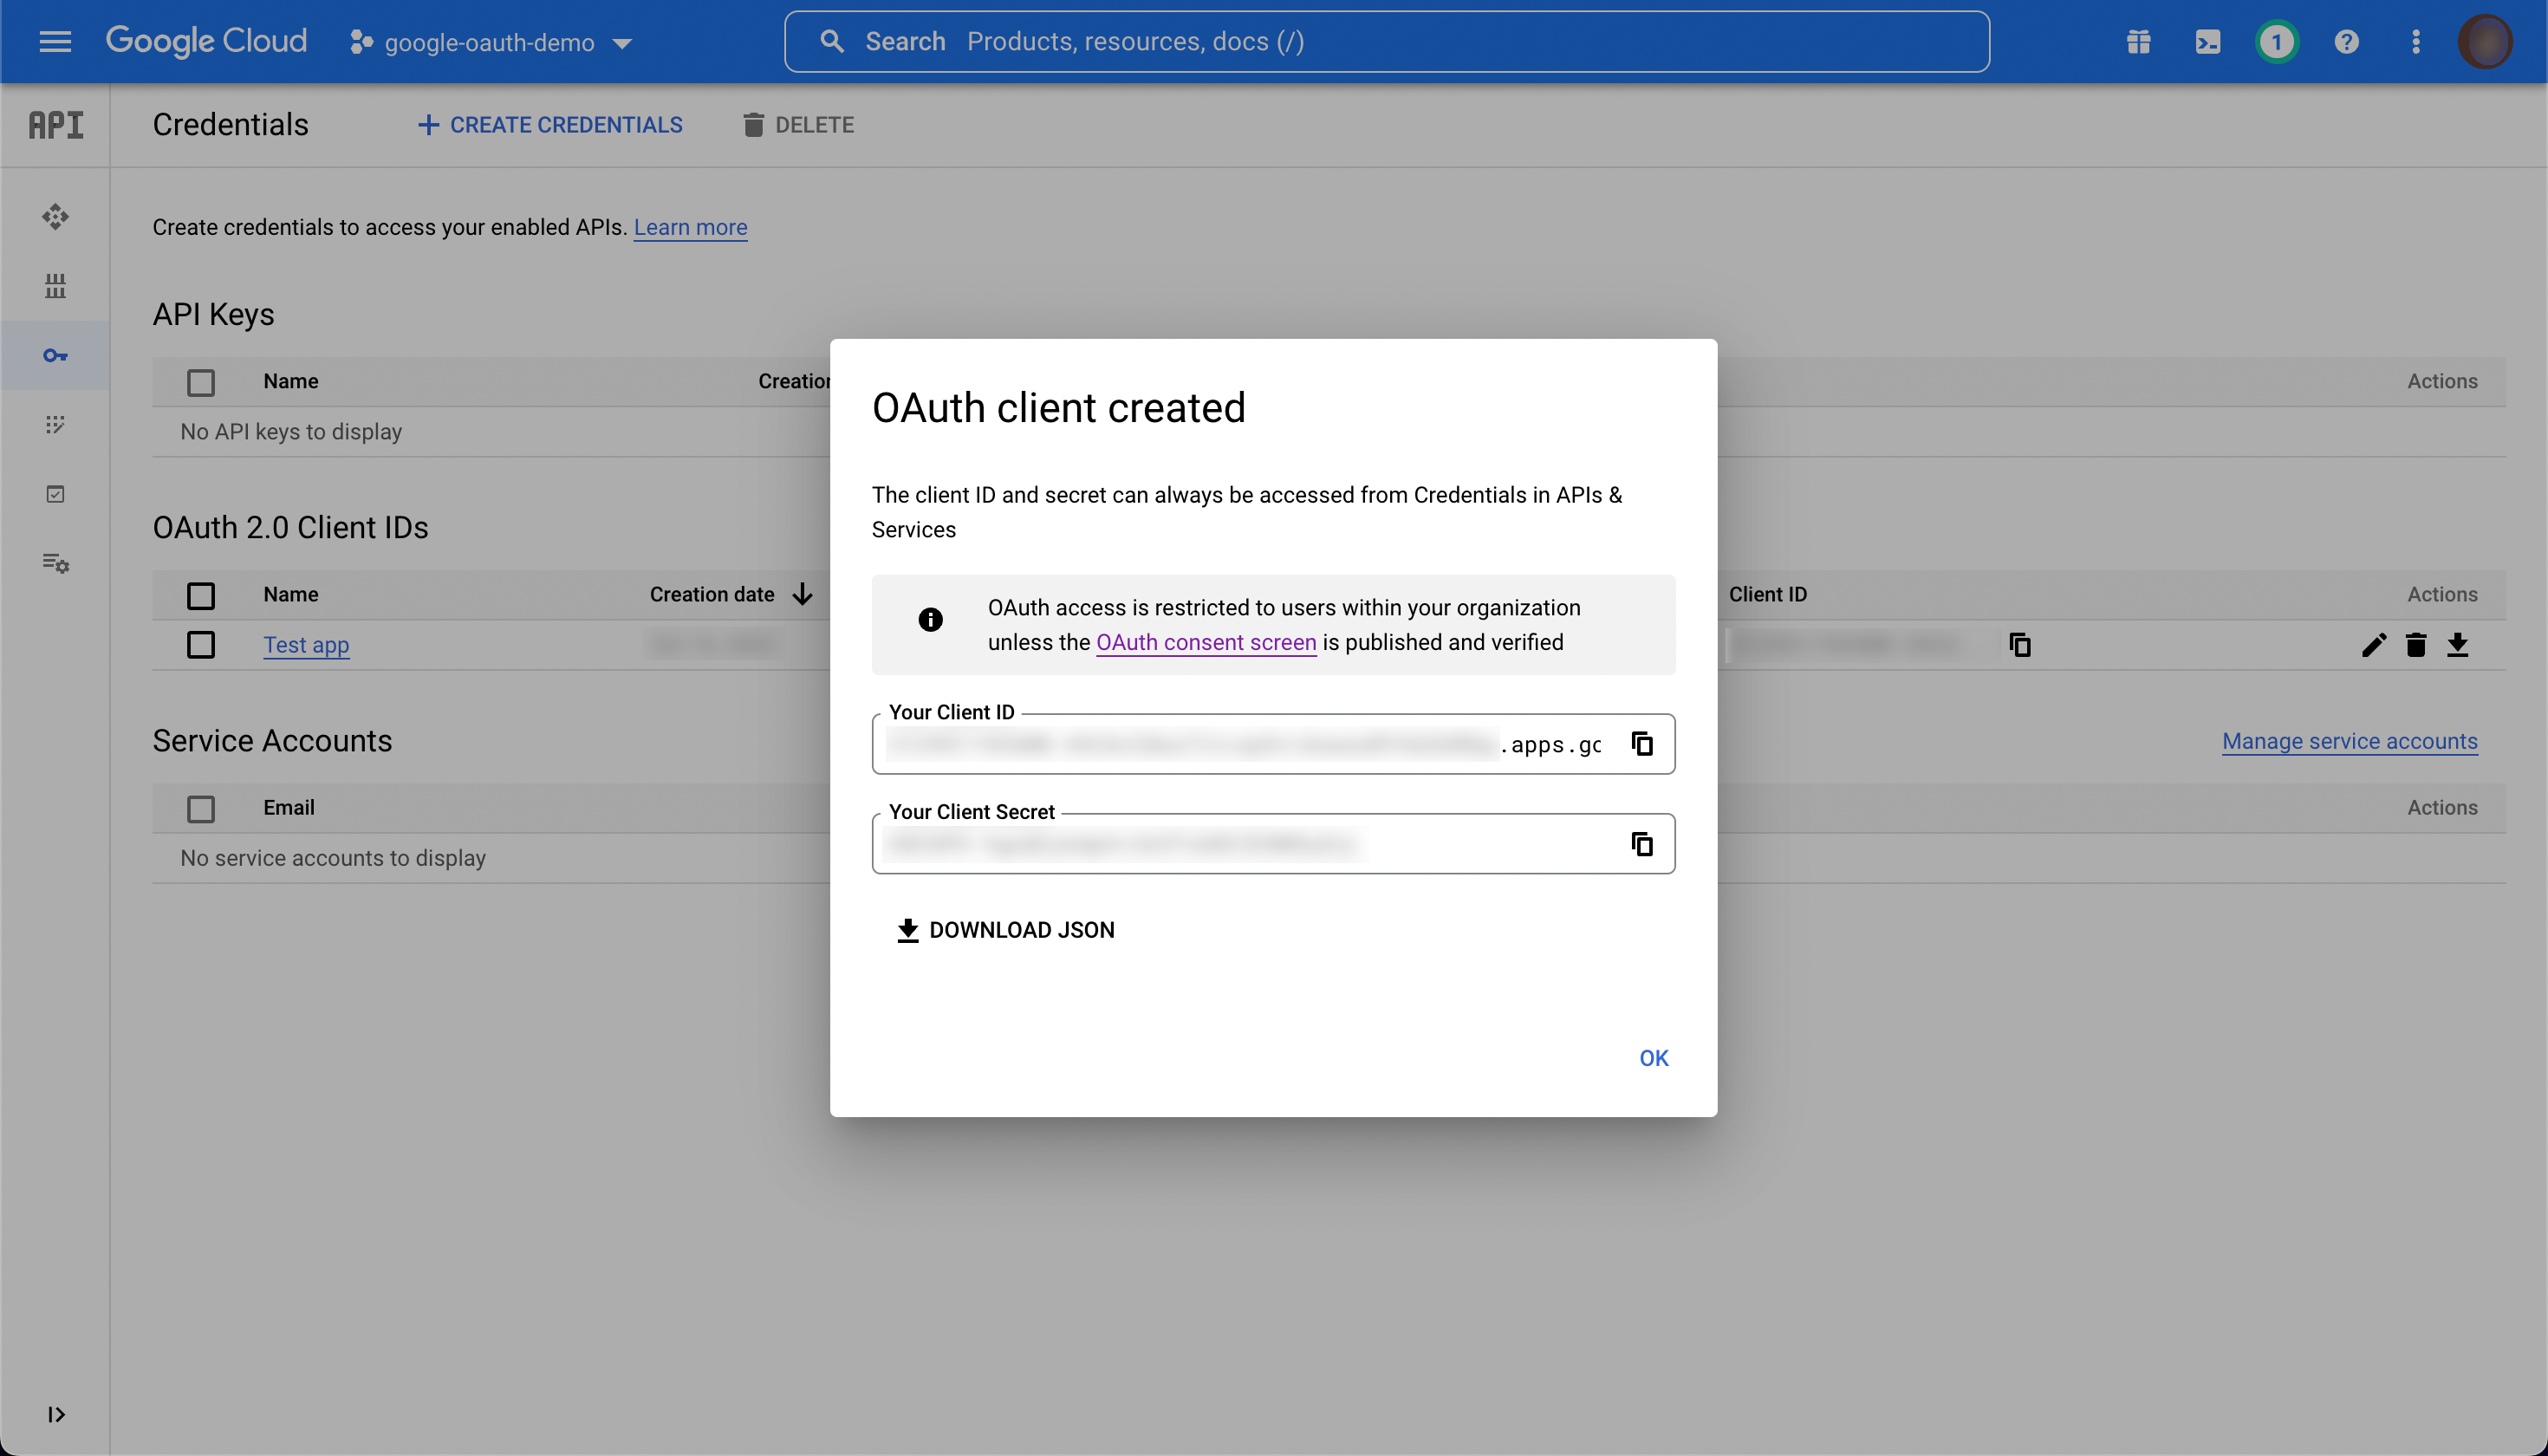
Once you have created your credentials, you will see the new client ID and client secret, with an option to download the JSON. Make sure you store these credentials safely. Once you have done so, click "OK".
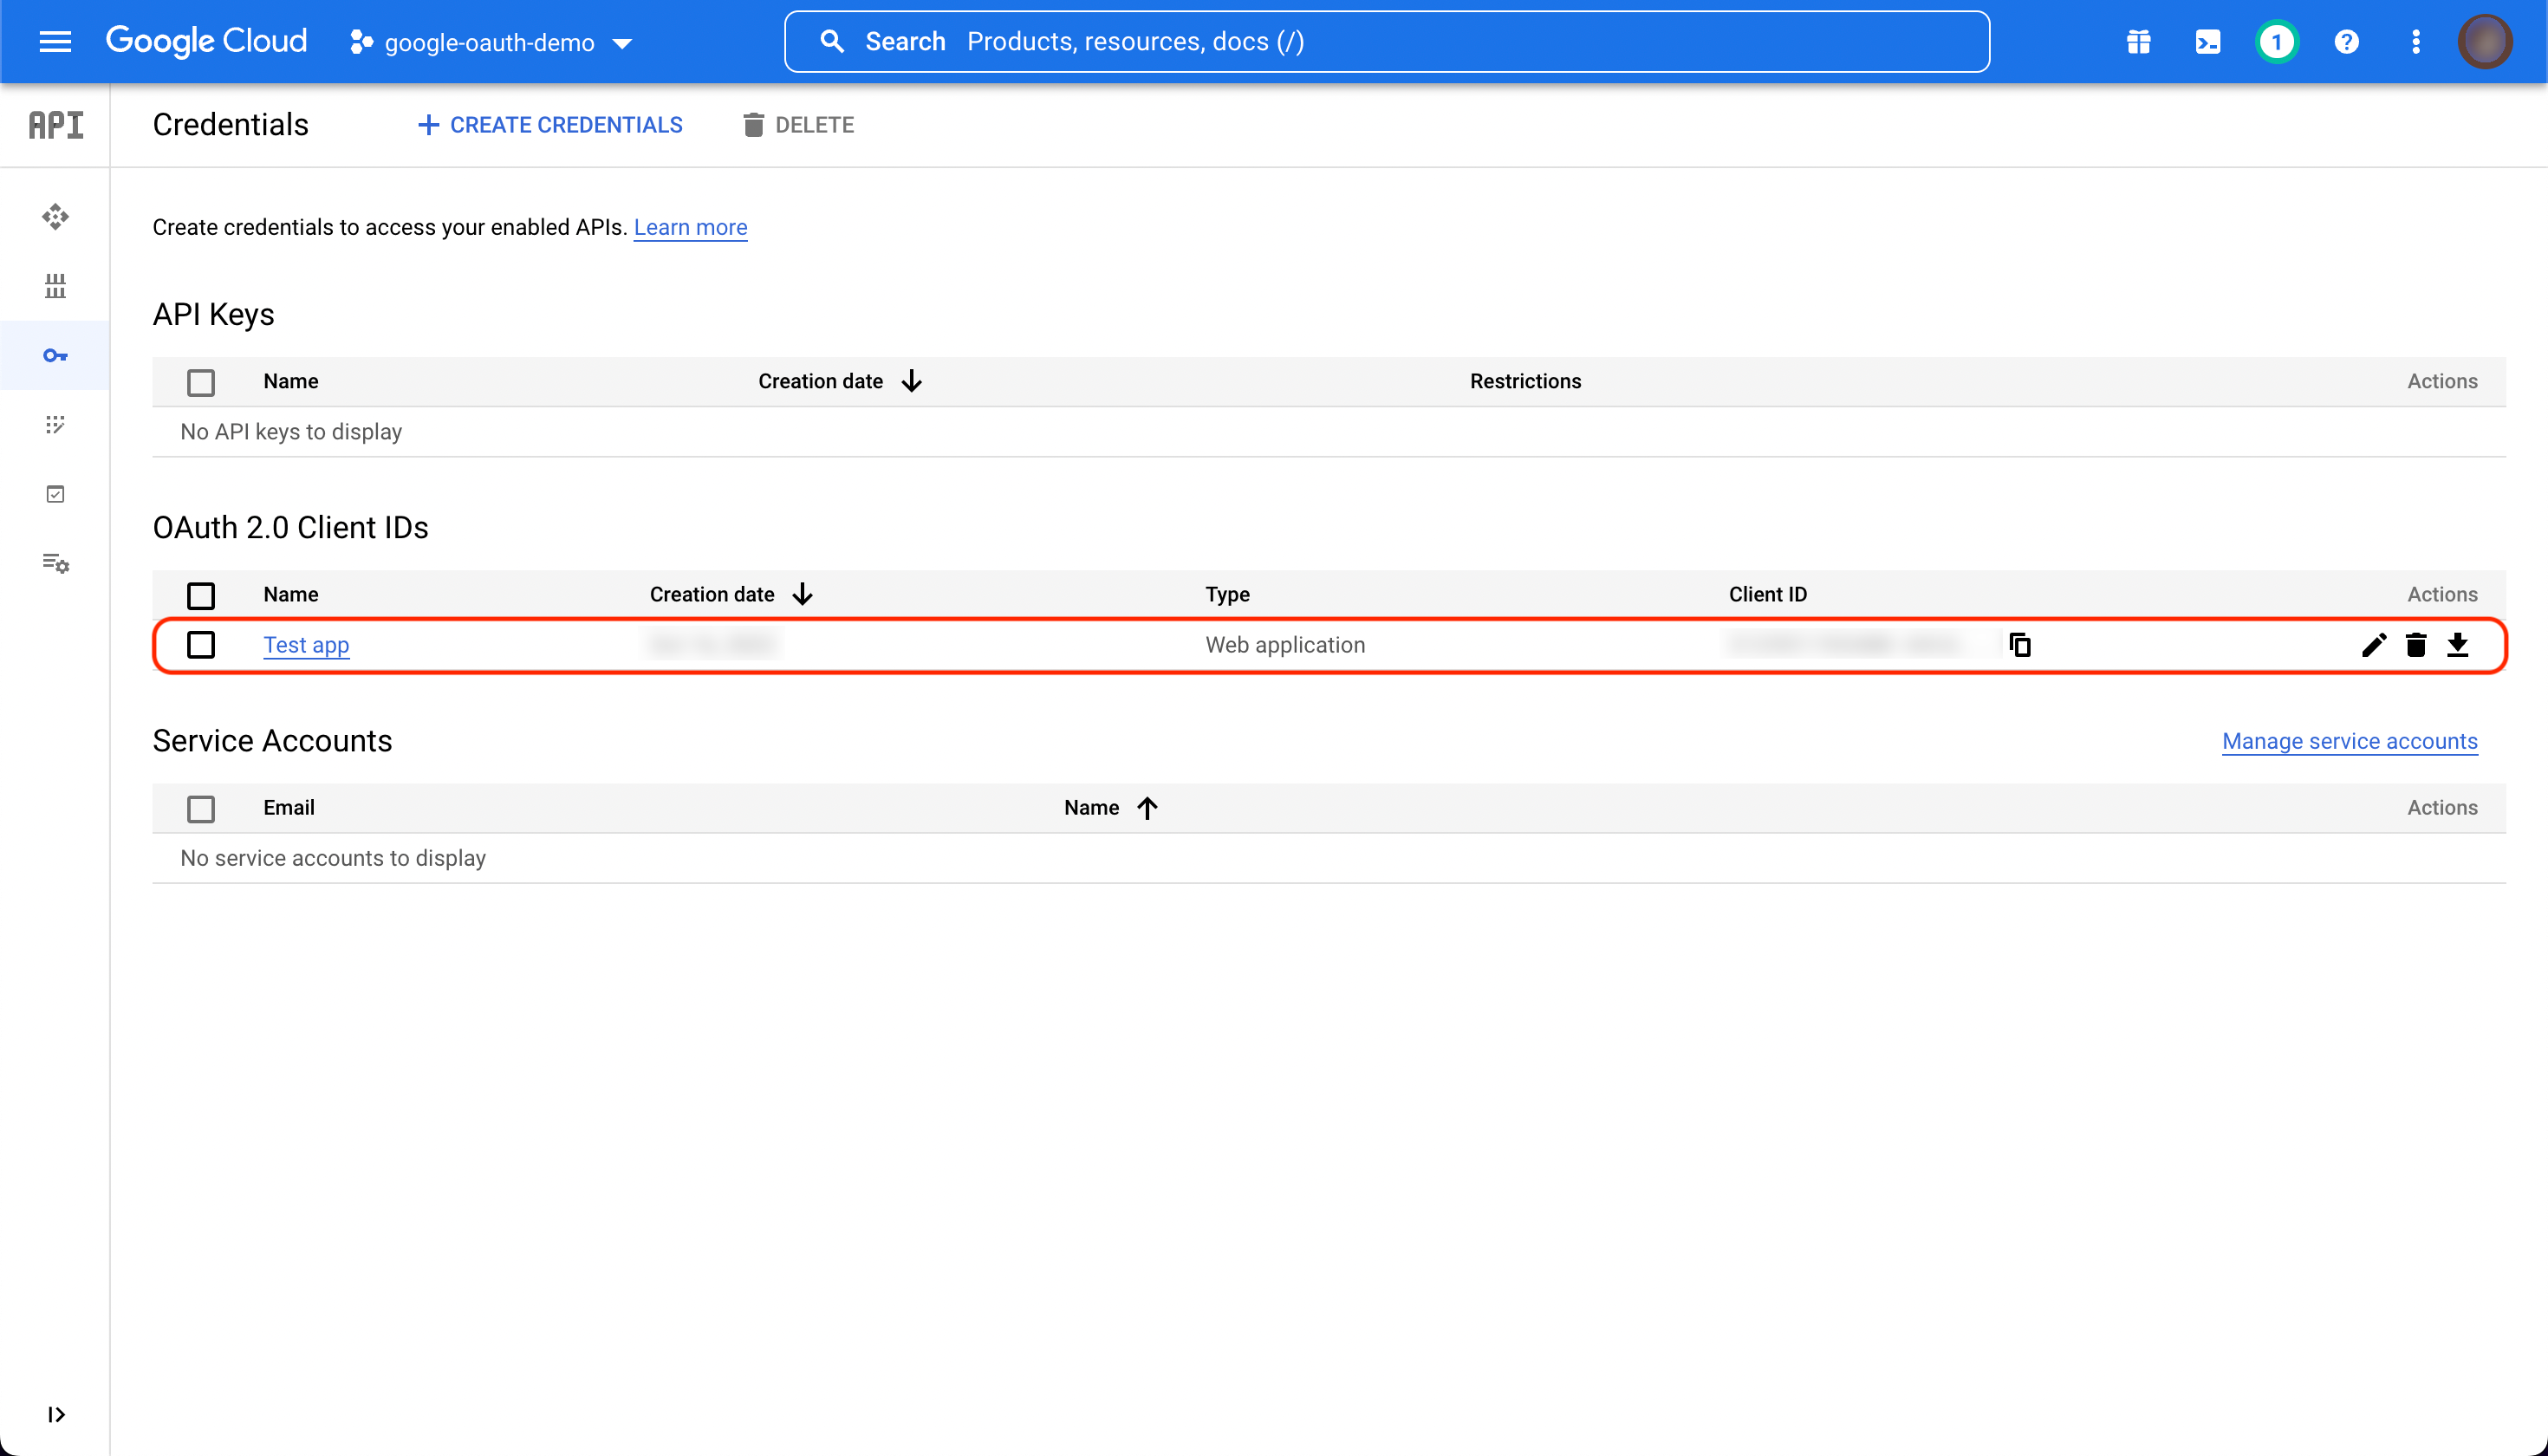
You will now see your new client credentials in the credentials list.
Now register the credentials with SlashID using the following API call:
curl --location --request POST 'https://api.slashid.com/organizations/sso/oidc/provider-credentials' \
--header 'SlashID-OrgID: <YOUR ORG ID>' \
--header 'SlashID-API-Key: <YOUR API KEY>' \
--header 'Content-Type: application/json' \
--data-raw '{
    "client_id": "<CLIENT ID>",
    "client_secret": "<CLIENT SECRET>",
    "provider": "google",
    "label": "A label for this set of credentials"
}
'
You are now ready to start using SlashID for SSO with Google.