Guide: Adding custom claims to identity tokens
Introduction
Identity token claims contain information about the subject, such as email addresses, roles, risk scores, and more, specified as key-value pairs. JWTs support two different types of claim fields:
- Standard: these claim names are registered and are commonly included in tokens as industry standards.
- Custom: you can specify additional information to be added to your tokens.
It's easy to add custom claims to SlashID-issued tokens. For example, you can add meaningful details about the user who is logging in into your web app, such as their name, physical address, or roles.
SlashID provides three ways to add custom claims:
- Using synchronous webhooks during registration/authentication.
- Using Gate.
- Using our token minting API from your backend.
Read on to see an example of token enrichment using webhooks in Python. If you are interested in our other approaches, take a look at the Gate documentation or our token minting API.
We believe our approach has several advantages compared to others, in particular:
- Testability: it is significantly easier to test custom authentication logic via webhooks compared to hosted scripts or other approaches;
- Data protection: by using a webhook you never expose key material (e.g., credentials to access a database with the enrichment information) or sensitive data to SlashID.
- Flexibility: you can customize the token at any step of its journey, including at your backend level when you need to differentially enrich tokens for specific microservices.
You can find the code for this example in our GitHub repo.
Custom claims with webhooks
SlashID supports both synchronous and asynchronous webhooks to hook all interactions between a user and SlashID, such as authentication attempts, registration, changes in attributes, and more.
You can create and manage webhooks using a simple REST API - see the full documentation here.
Webhooks can be attached to multiple triggers, which are either asynchronous (events) or synchronous (sync hooks). To customize token claims, we will need to use the token_minted sync hook. This hook is called for every authentication/registration attempt before a token is issued.
The webhook registered with the
token_mintedtrigger will receive the claims of the token that SlashID is about to mint for a user. The webhook's response can block the issuance, enrich it with custom claims, or do nothing.
A typical token received by the webhook looks as follows:
{
  "aud": "e2c8a069-7e89-cc7e-b161-3f02681c6804",
  "exp": 1697652845,
  "iat": 1697652545,
  "iss": "https://api.slashid.com",
  "jti": "2479ec0e-aad5-47ca-a12b-214ddaf7fc85",
  "sub": "065301f4-1c74-7636-ad00-da1923dc00f9",
  "target_url": "https://7b9c-206-71-251-221.ngrok.io/pre-auth-user-check",
  "trigger_content": {
    "aud": "e2c8a069-7e89-cc7e-b161-3f02681c6804",
    "authentications": [
      {
        "handle": {
          "type": "email_address",
          "value": "vincenzo@slashid.dev"
        },
        "method": "oidc",
        "timestamp": "2023-10-18T18:08:57.9002598Z"
      }
    ],
    "first_token": true,
    "groups_claim_name": "groups",
    "iss": "https://api.slashid.com",
    "region": "europe-belgium",
    "request_metadata": {
      "client_ip_address": "206.71.251.221",
      "origin": "http://localhost:8080",
      "user_agent": "Mozilla/5.0 (Macintosh; Intel Mac OS X 10_15_7) AppleWebKit/537.36 (KHTML, like Gecko) Chrome/118.0.0.0 Safari/537.36"
    },
    "sub": "065158a6-33f2-725e-a208-9d773600513a"
  },
  "trigger_name": "token_minted",
  "trigger_type": "sync_hook",
  "webhook_id": "065301dd-b26d-7d7e-b500-6a7f180b2cdb"
}
Using Python's FastAPI framework, we will add three custom claims to a token: a user name, a fictional department, and a flag stating whether the user is in the office based on their IP address.
1. Prerequisites
- Python 3.6+
- ngrok: https://ngrok.com/download
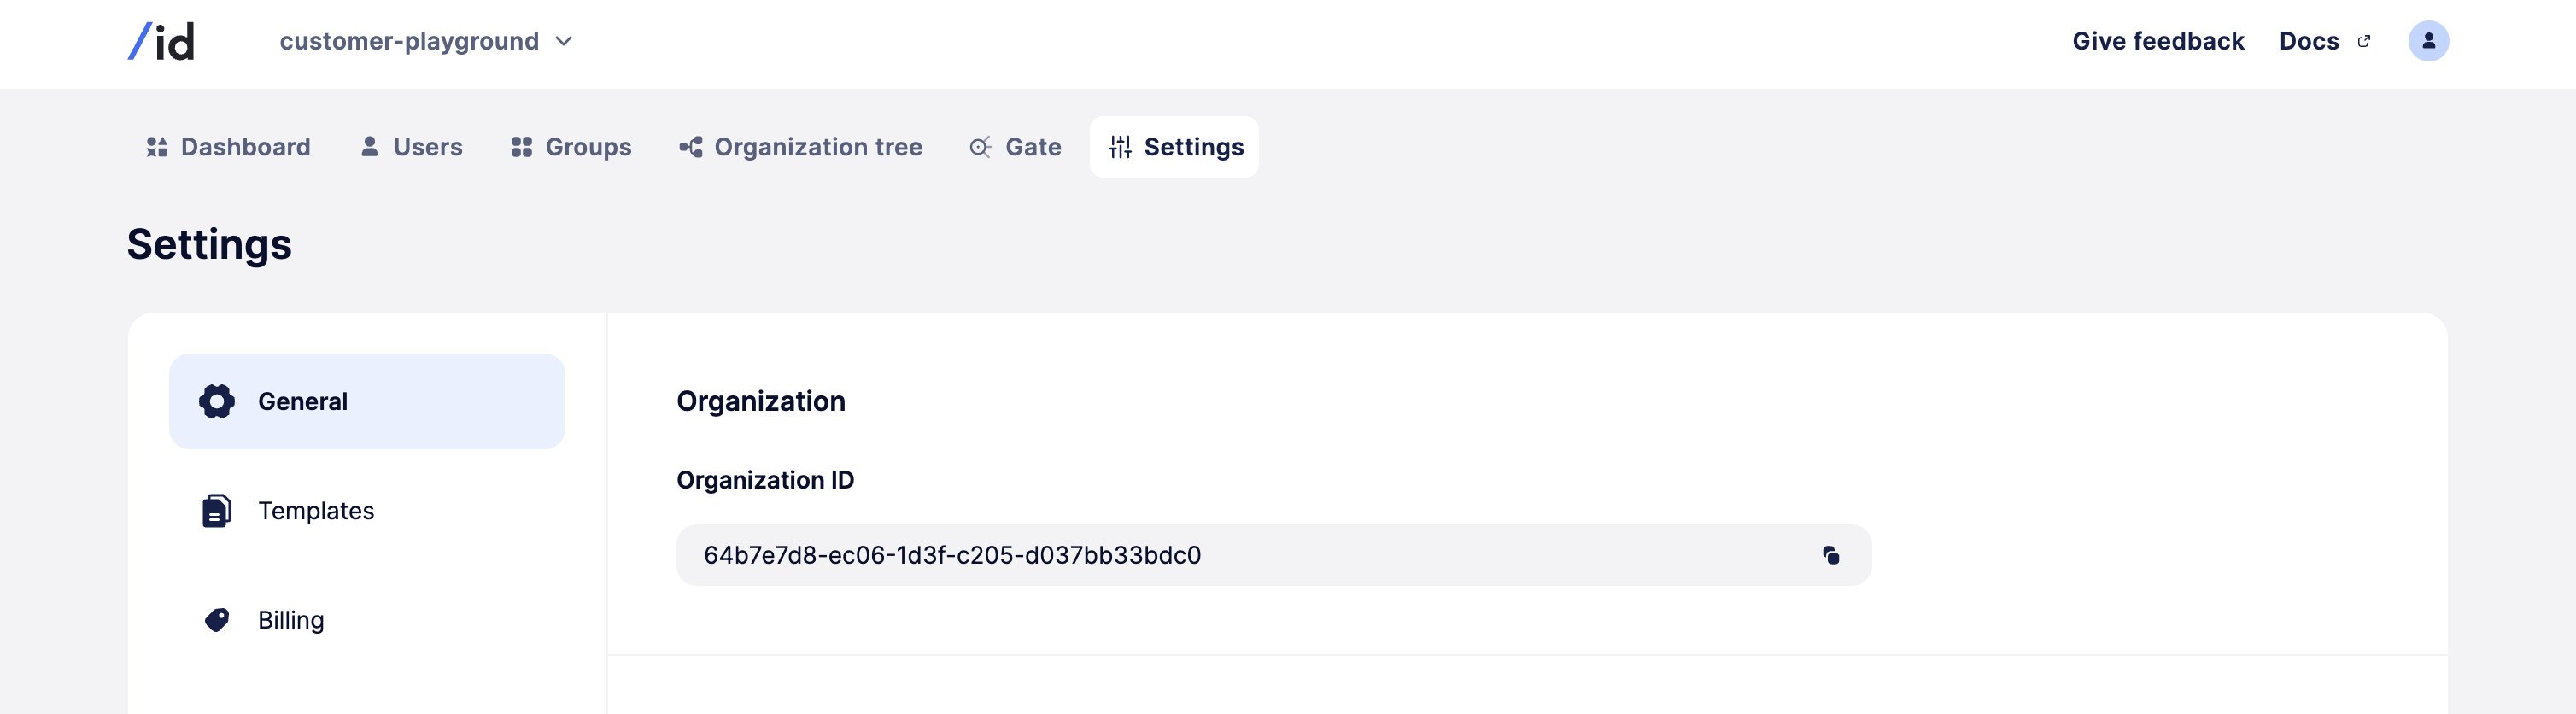
- A SlashID account. Obtain the SlashID
ORG_IDandAPI_KEYfrom the Settings page as shown below. Register here for a free account.

2. Serve the webhook locally
- ngrok http 8001: create local tunnel; please take note of the ngrok-provided URL in ngrok's output, you'll need to set it as the webhook's base
target_url ORG_ID=[SlashID Org ID] API_KEY=[SlashID API key] uvicorn webhook:app --port 8001 --reload: serve the webhook locally
NOTE: Make sure that the port is not used by any other service
3. Define and register the webhook
Let's first register the webhook and attach it to the token_minted event.
curl -X POST --location 'https://api.slashid.com/organizations/webhooks' \
--header 'SlashID-OrgID: <ORGANIZATION ID>' \
--header 'SlashID-API-Key: <API KEY>' \
--header 'Content-Type: application/json' \
--data '{
    "target_url": "https://ngrok-url/user-auth-hook",
    "name": "user enrichment",
    "description": "Webhook to receive notifications when a user attempts login or registration"
}'

{
    "result": {

        "description": "Webhook to receive notifications when a user attempts login or registration",
        "id": "16475b49-2b12-78d7-9012-cfe0e174dcd3",
        "name": "user enrichment",
        "target_url": "https://ngrok-url/user-auth-hook"
    }
}
curl -X POST --location 'https://api.slashid.com/organizations/webhooks/16475b49-2b12-78d7-9012-cfe0e174dcd3/triggers' \
--header 'SlashID-OrgID: <ORGANIZATION ID>' \
--header 'SlashID-API-Key: <API KEY>' \
--header 'Content-Type: application/json' \
--data '{
    "trigger_type": "sync_hook",
    "trigger_name": "token_minted"
}'
Now that the webhook is registered, let's take a look at a toy example for https://api.example.com/slashid-webhooks/user-auth-hook.
import os
from fastapi import FastAPI, Depends, HTTPException, Request, status
from fastapi.responses import JSONResponse
import jwt
import requests
from datetime import datetime
import json

def verify_extract_token(request_body):
    jwks_client = jwt.PyJWKClient("https://api.slashid.com/organizations/webhooks/verification-jwks", headers={"SlashID-OrgID": "<ORGANIZATION ID>"})
    webhookURL = ""

    try:
        header = jwt.get_unverified_header(request_body)
        key = jwks_client.get_signing_key(header["kid"]).key
        token = jwt.decode(request_body, key, audience="<SLASHID_ORGANIZATION ID>", algorithms=["ES256"])

        if token['target_url'] != webhookURL:
            raise HTTPException(
            status_code=status.HTTP_401_UNAUTHORIZED,
            detail=f"Token {token} is invalid: {e}",
        )
    except Exception as e:
        raise HTTPException(
          status_code=status.HTTP_401_UNAUTHORIZED,
          detail=f"Token {token} is invalid: {e}",
      )
    return token

app = FastAPI()

@app.post("/user-auth-hook")
def hook_function(request: Request):

    request_body = await request.body()

    # Now the request has been validated
    token = verify_extract_token(request_body)

    print(json.dumps(token, indent=4))

    #extract the email address of the user
    handle = token['trigger_content']['authentications'][0]['handle']['value']
    ip_address = token['trigger_content']['request_metadata']['client_ip_address']

    print(f"User handle {handle} and IP address {ip_address}\n")

    if handle == "alex.singh@acme.com":
        in_office = False
        if ip_address == "10.20.30.40":
            in_office = True

        return JSONResponse(status_code=status.HTTP_200_OK, content={
            "department": "R&D",
            "name": "Alex Singh",
            "in_office": in_office
        })
    else:
        return JSONResponse(status_code=status.HTTP_200_OK, content={})
4. Test it on a real application
You can use one of the SlashID sample applications to test this live.
If everything works as expected, you'll see the customized token with your claims in the context bar on the left once the user logs in.